
Requirement Issue
Creating and Managing Requirements
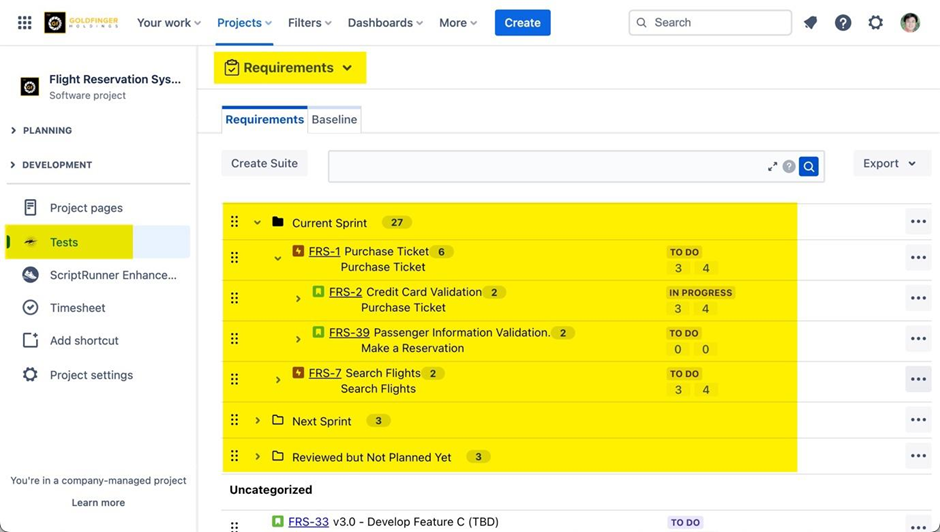
Accessing Requirements
Note: There is a separate Requirements page to categorize all requirements.
Navigate to Projects -> Tests -> Requirements. The Requirements page appears.
Creating Requirement
Note: You can map your own issue types to “TestRay Requirement” so that they appear in “Requirements” page.
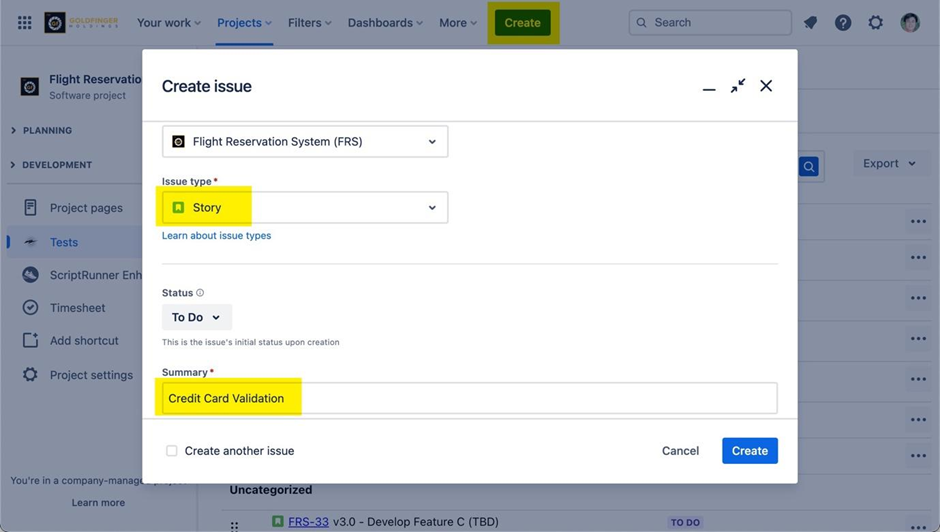
Click ‘’Create’’, the “Create issue” dialog box opens.
Select the “Requirement” issue type (e.g., Story) from the drop-down values.
Enter the summary and other necessary information.
Click ‘’Create’’, the requirement issue is created successfully.
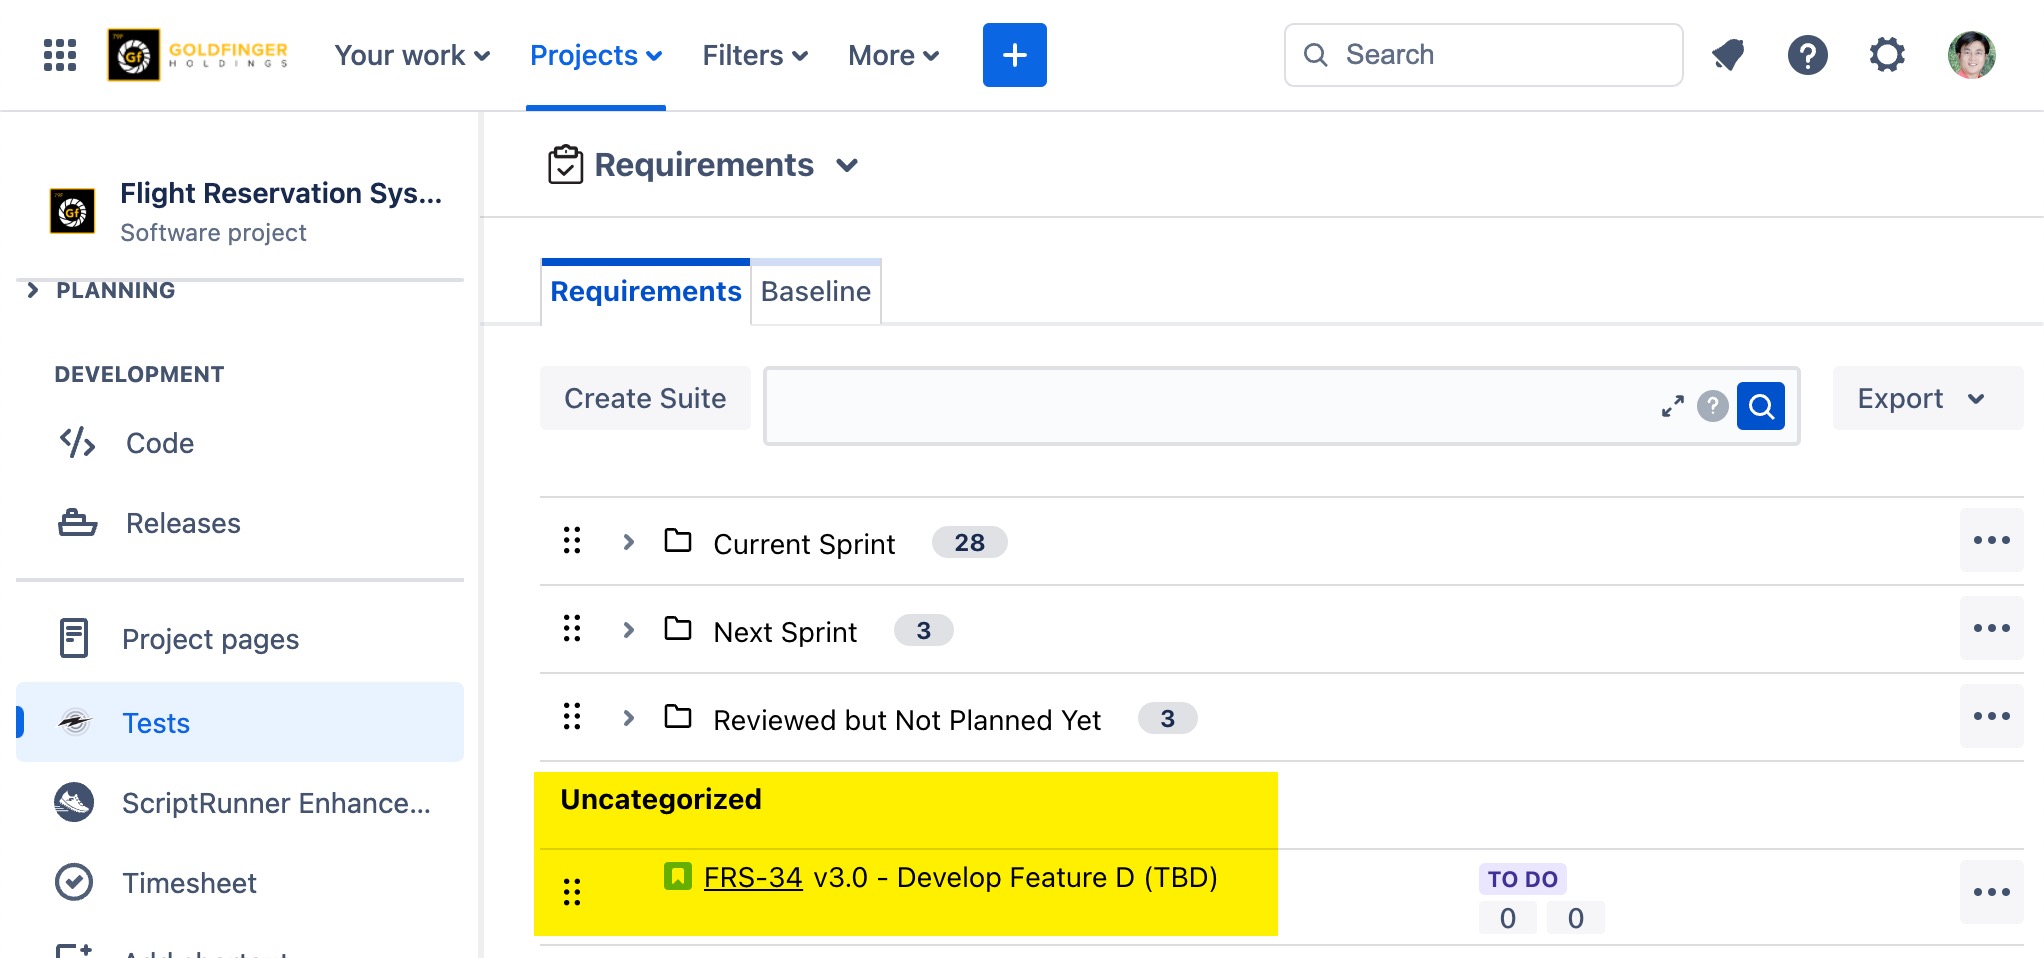
Note: Once the requirement issue is created, it will be listed at the bottom of page, under “Uncategorized” list.
Viewing Requirement Issue
Launch the created requirement issue.
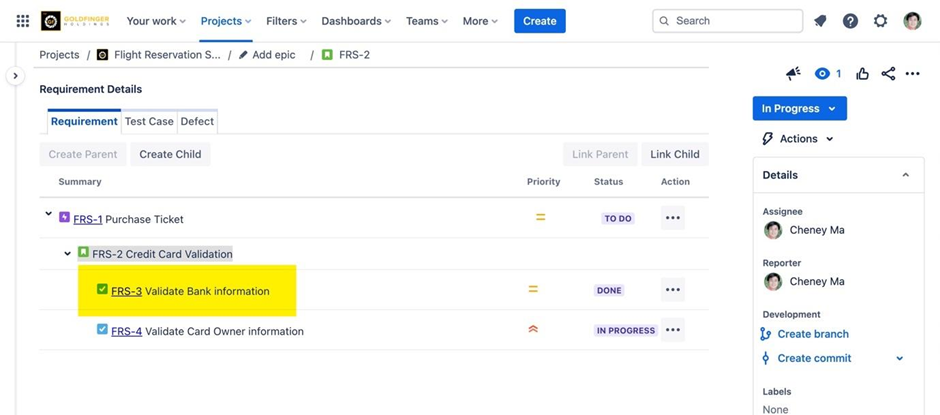
Check “Requirement Details” panel.
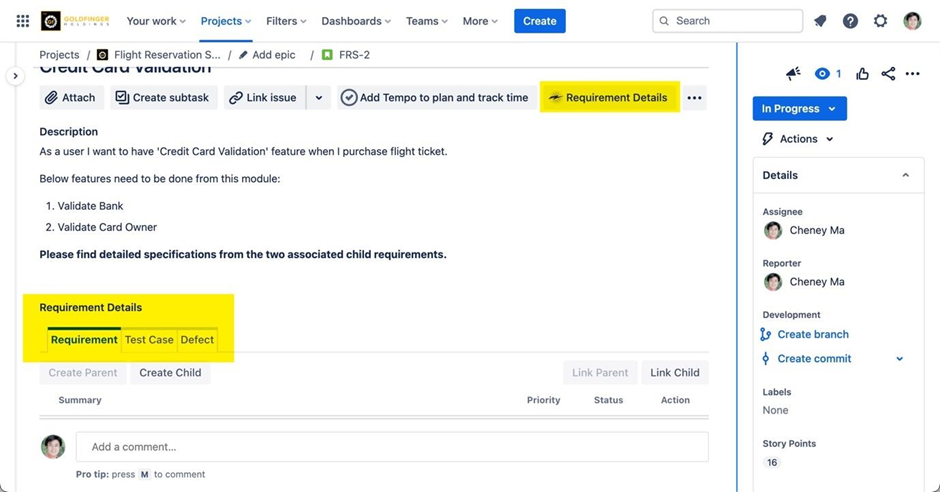
Note: The Requirement panel showing the connections between requirement and test activities (Test Case, Defects), it also shows requirement hierarchy information.
Breaking Down Bigger Requirement into Smaller Pieces
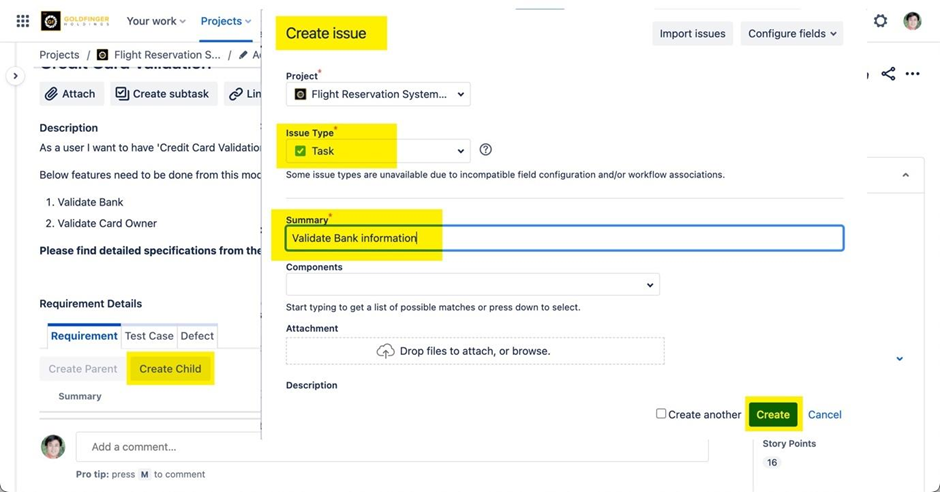
Click the ‘’Create Child’ button in the “Requirement Details” section. The Create issue dialog box opens.
Choose a requirement issue type (e.g. Task) which will be listed as a child requirement.
Enter the summary and other necessary information.
Click ‘’Create’’, the requirement issue is created successfully.
Once a task is created, it will be linked as a child.
Note: User also can create a parent by using ‘Create Parent’ button. Existing requirement issue also can be linked by using ‘Link Parent’ and ‘Link Child’ options.