.png)
Executing Test Run/s
Launching Test Run
Launch an active test cycle.
Click “E” (Execute) button from a test run in the list.
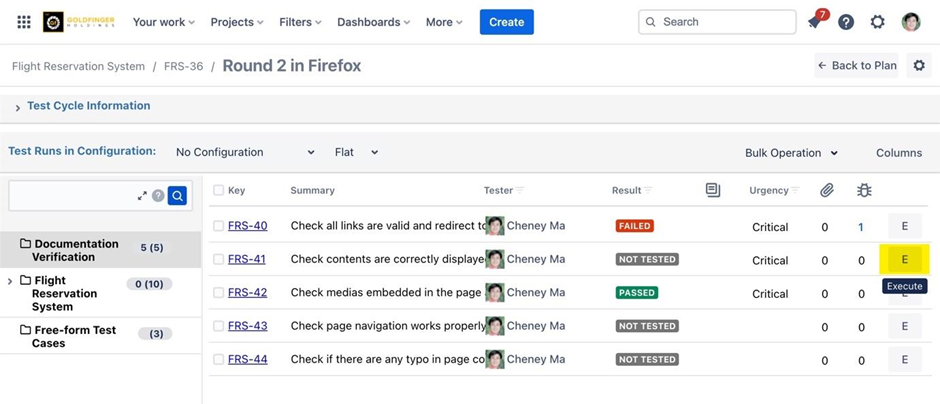
Test run dialog box with execution details is launched.
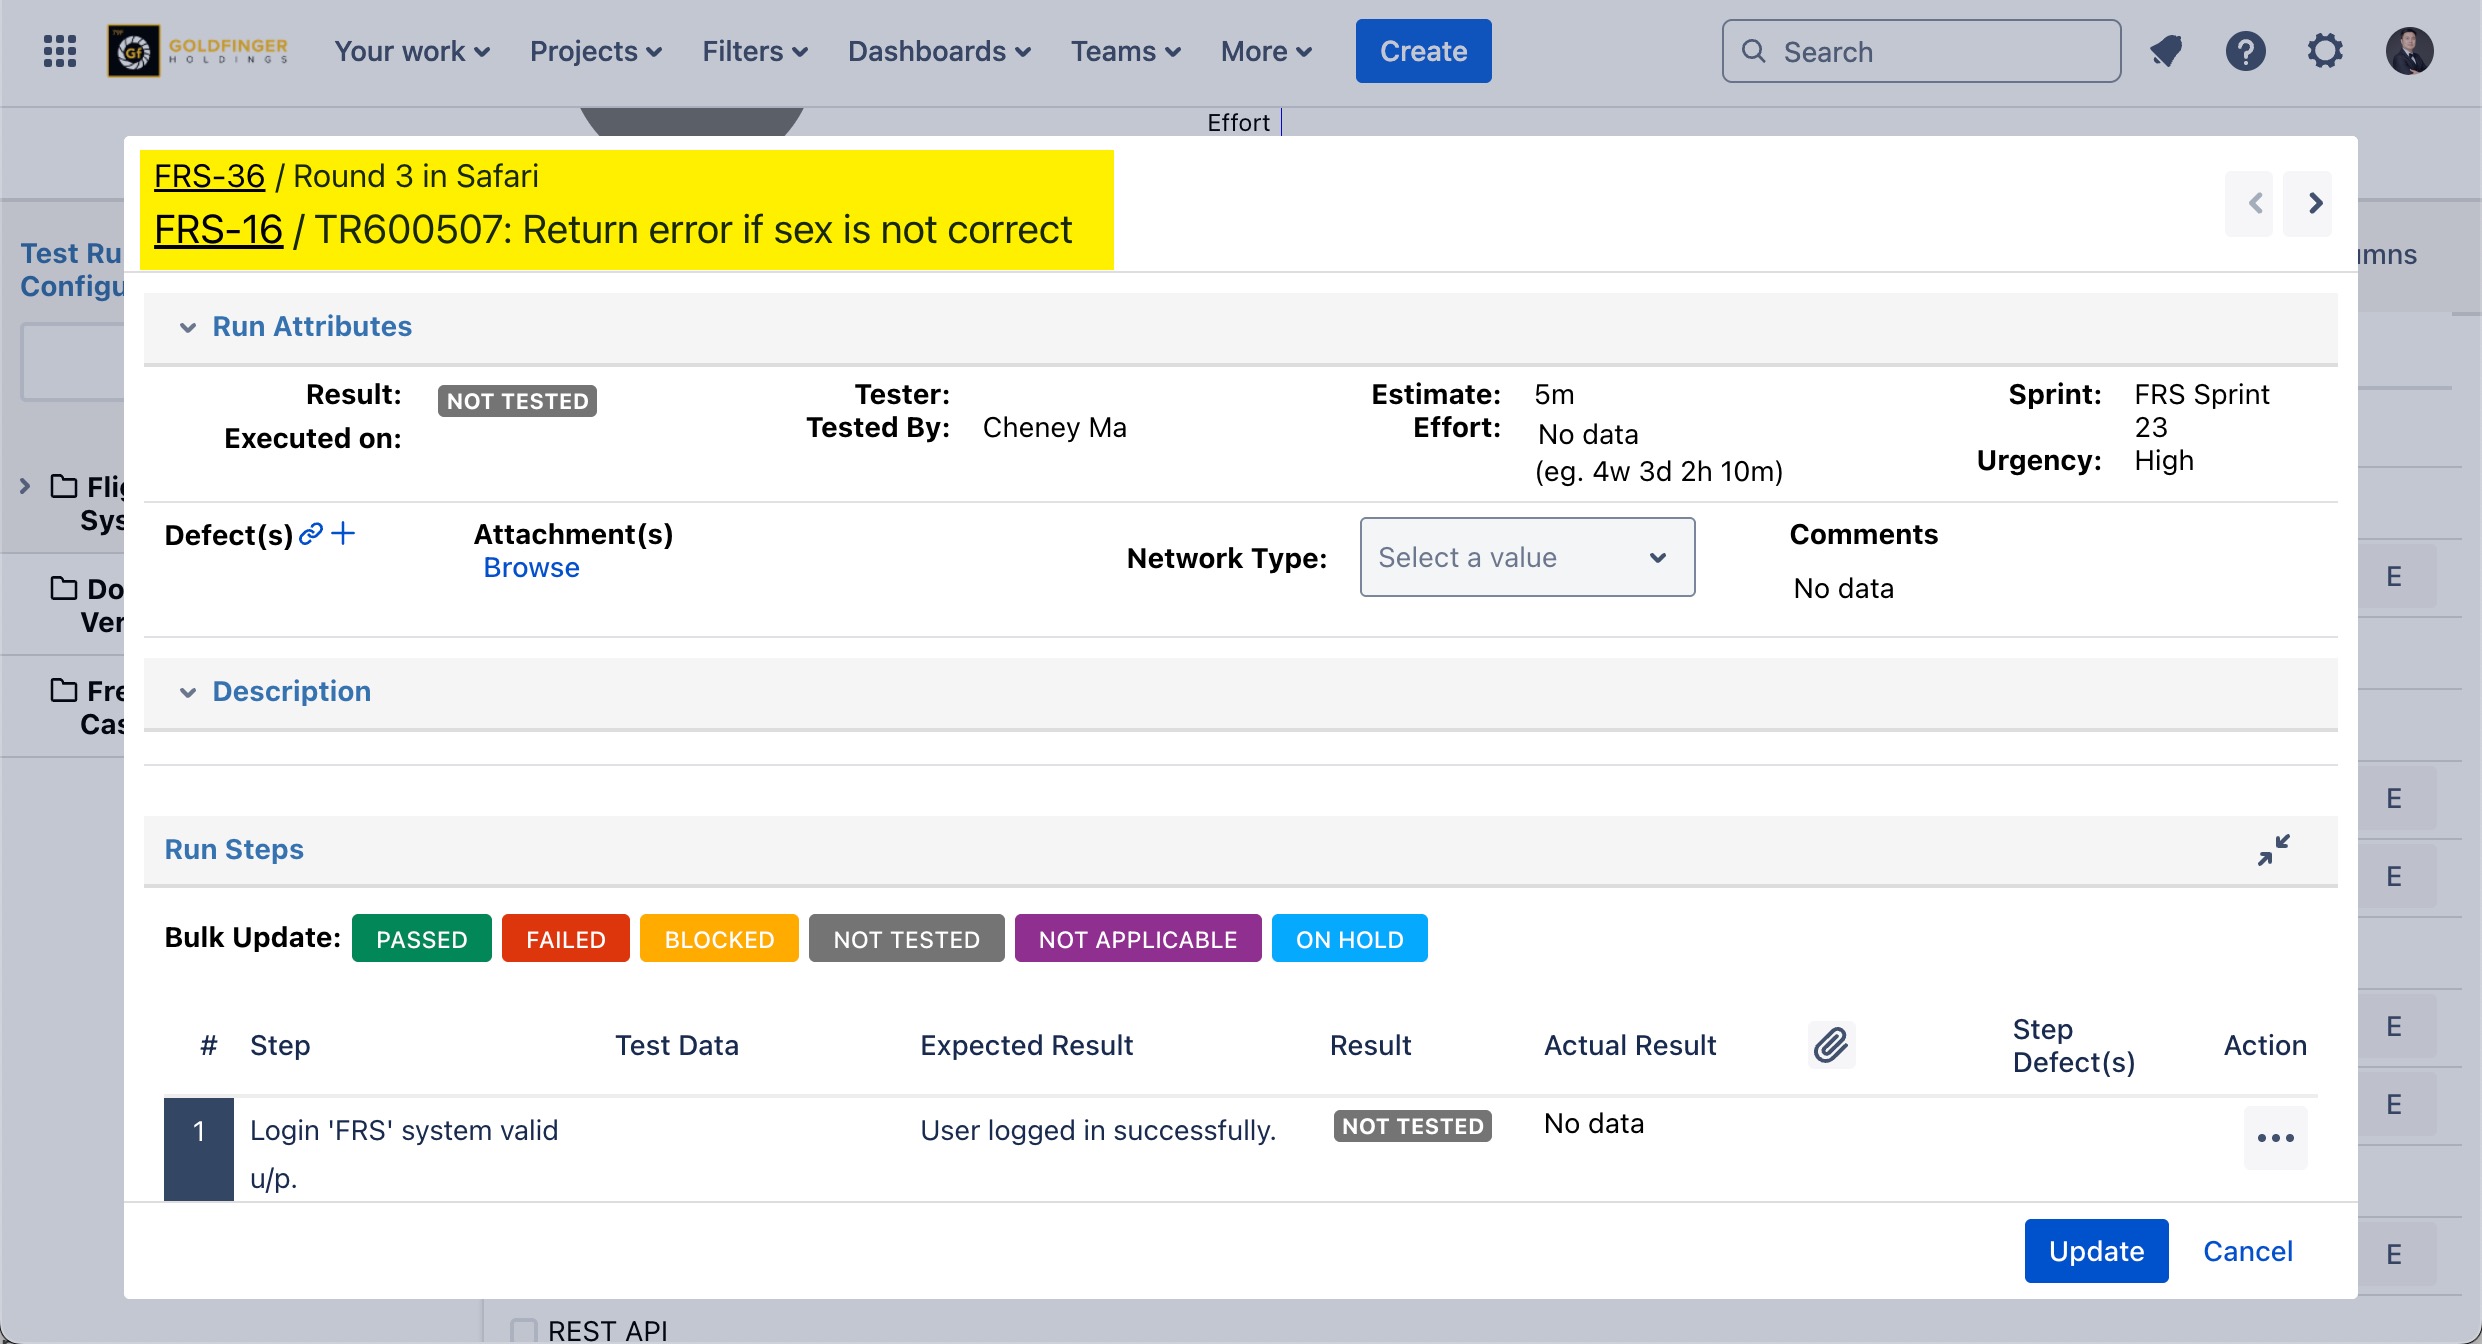
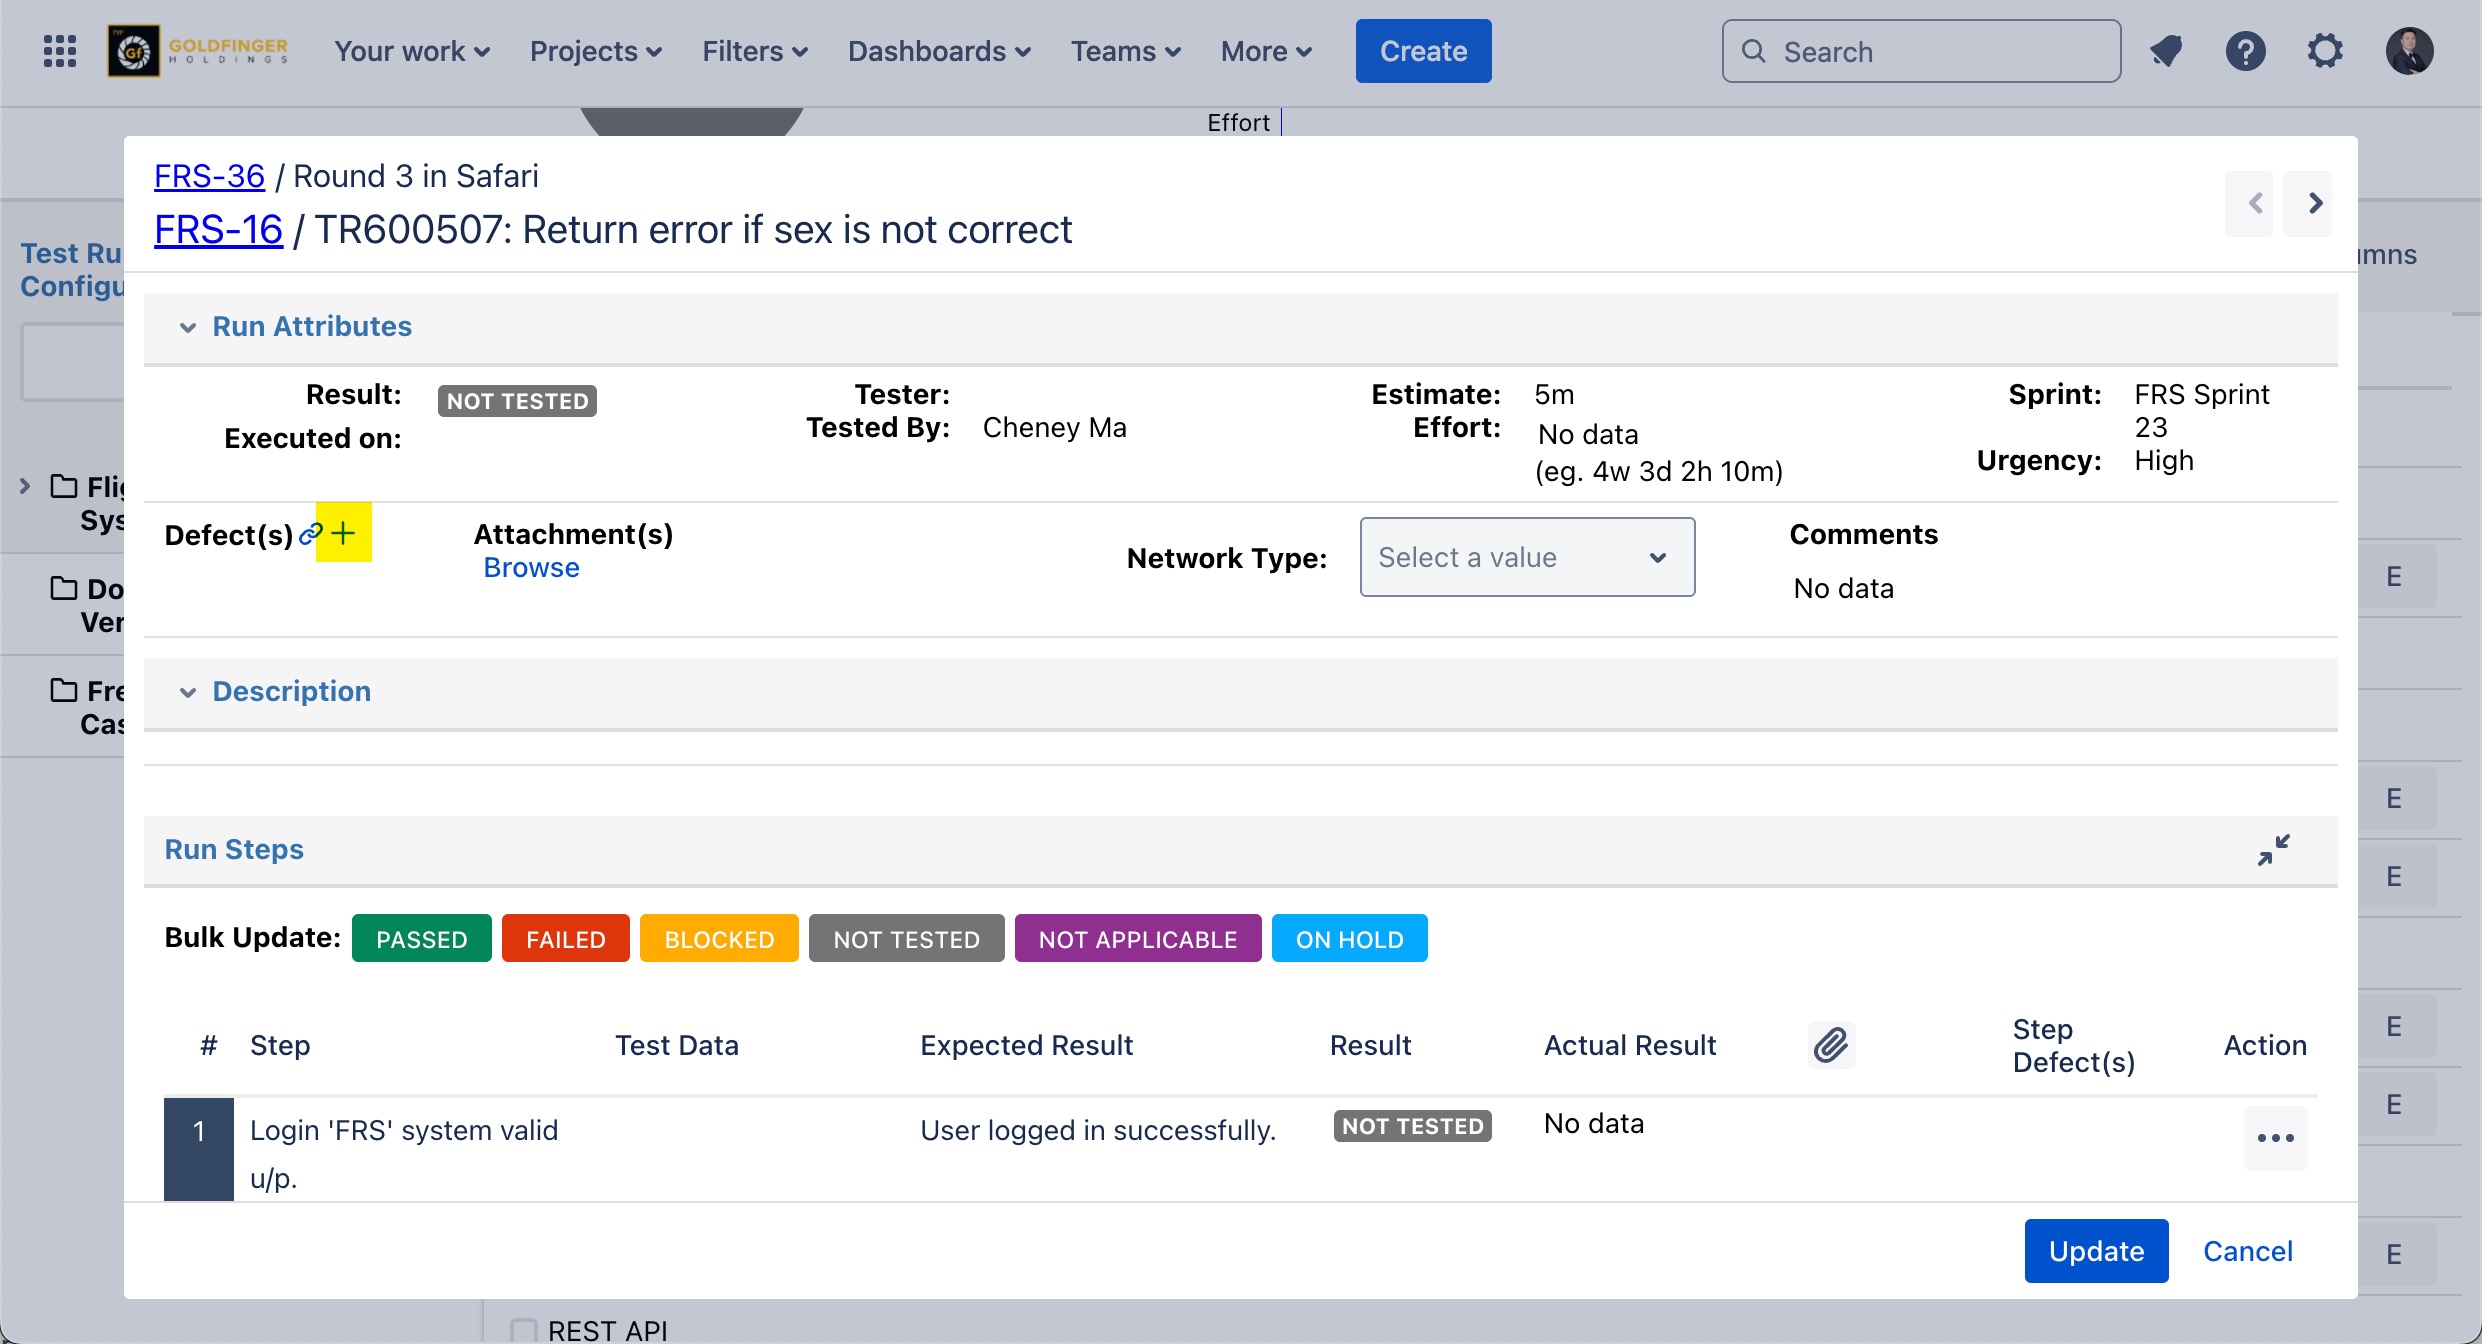
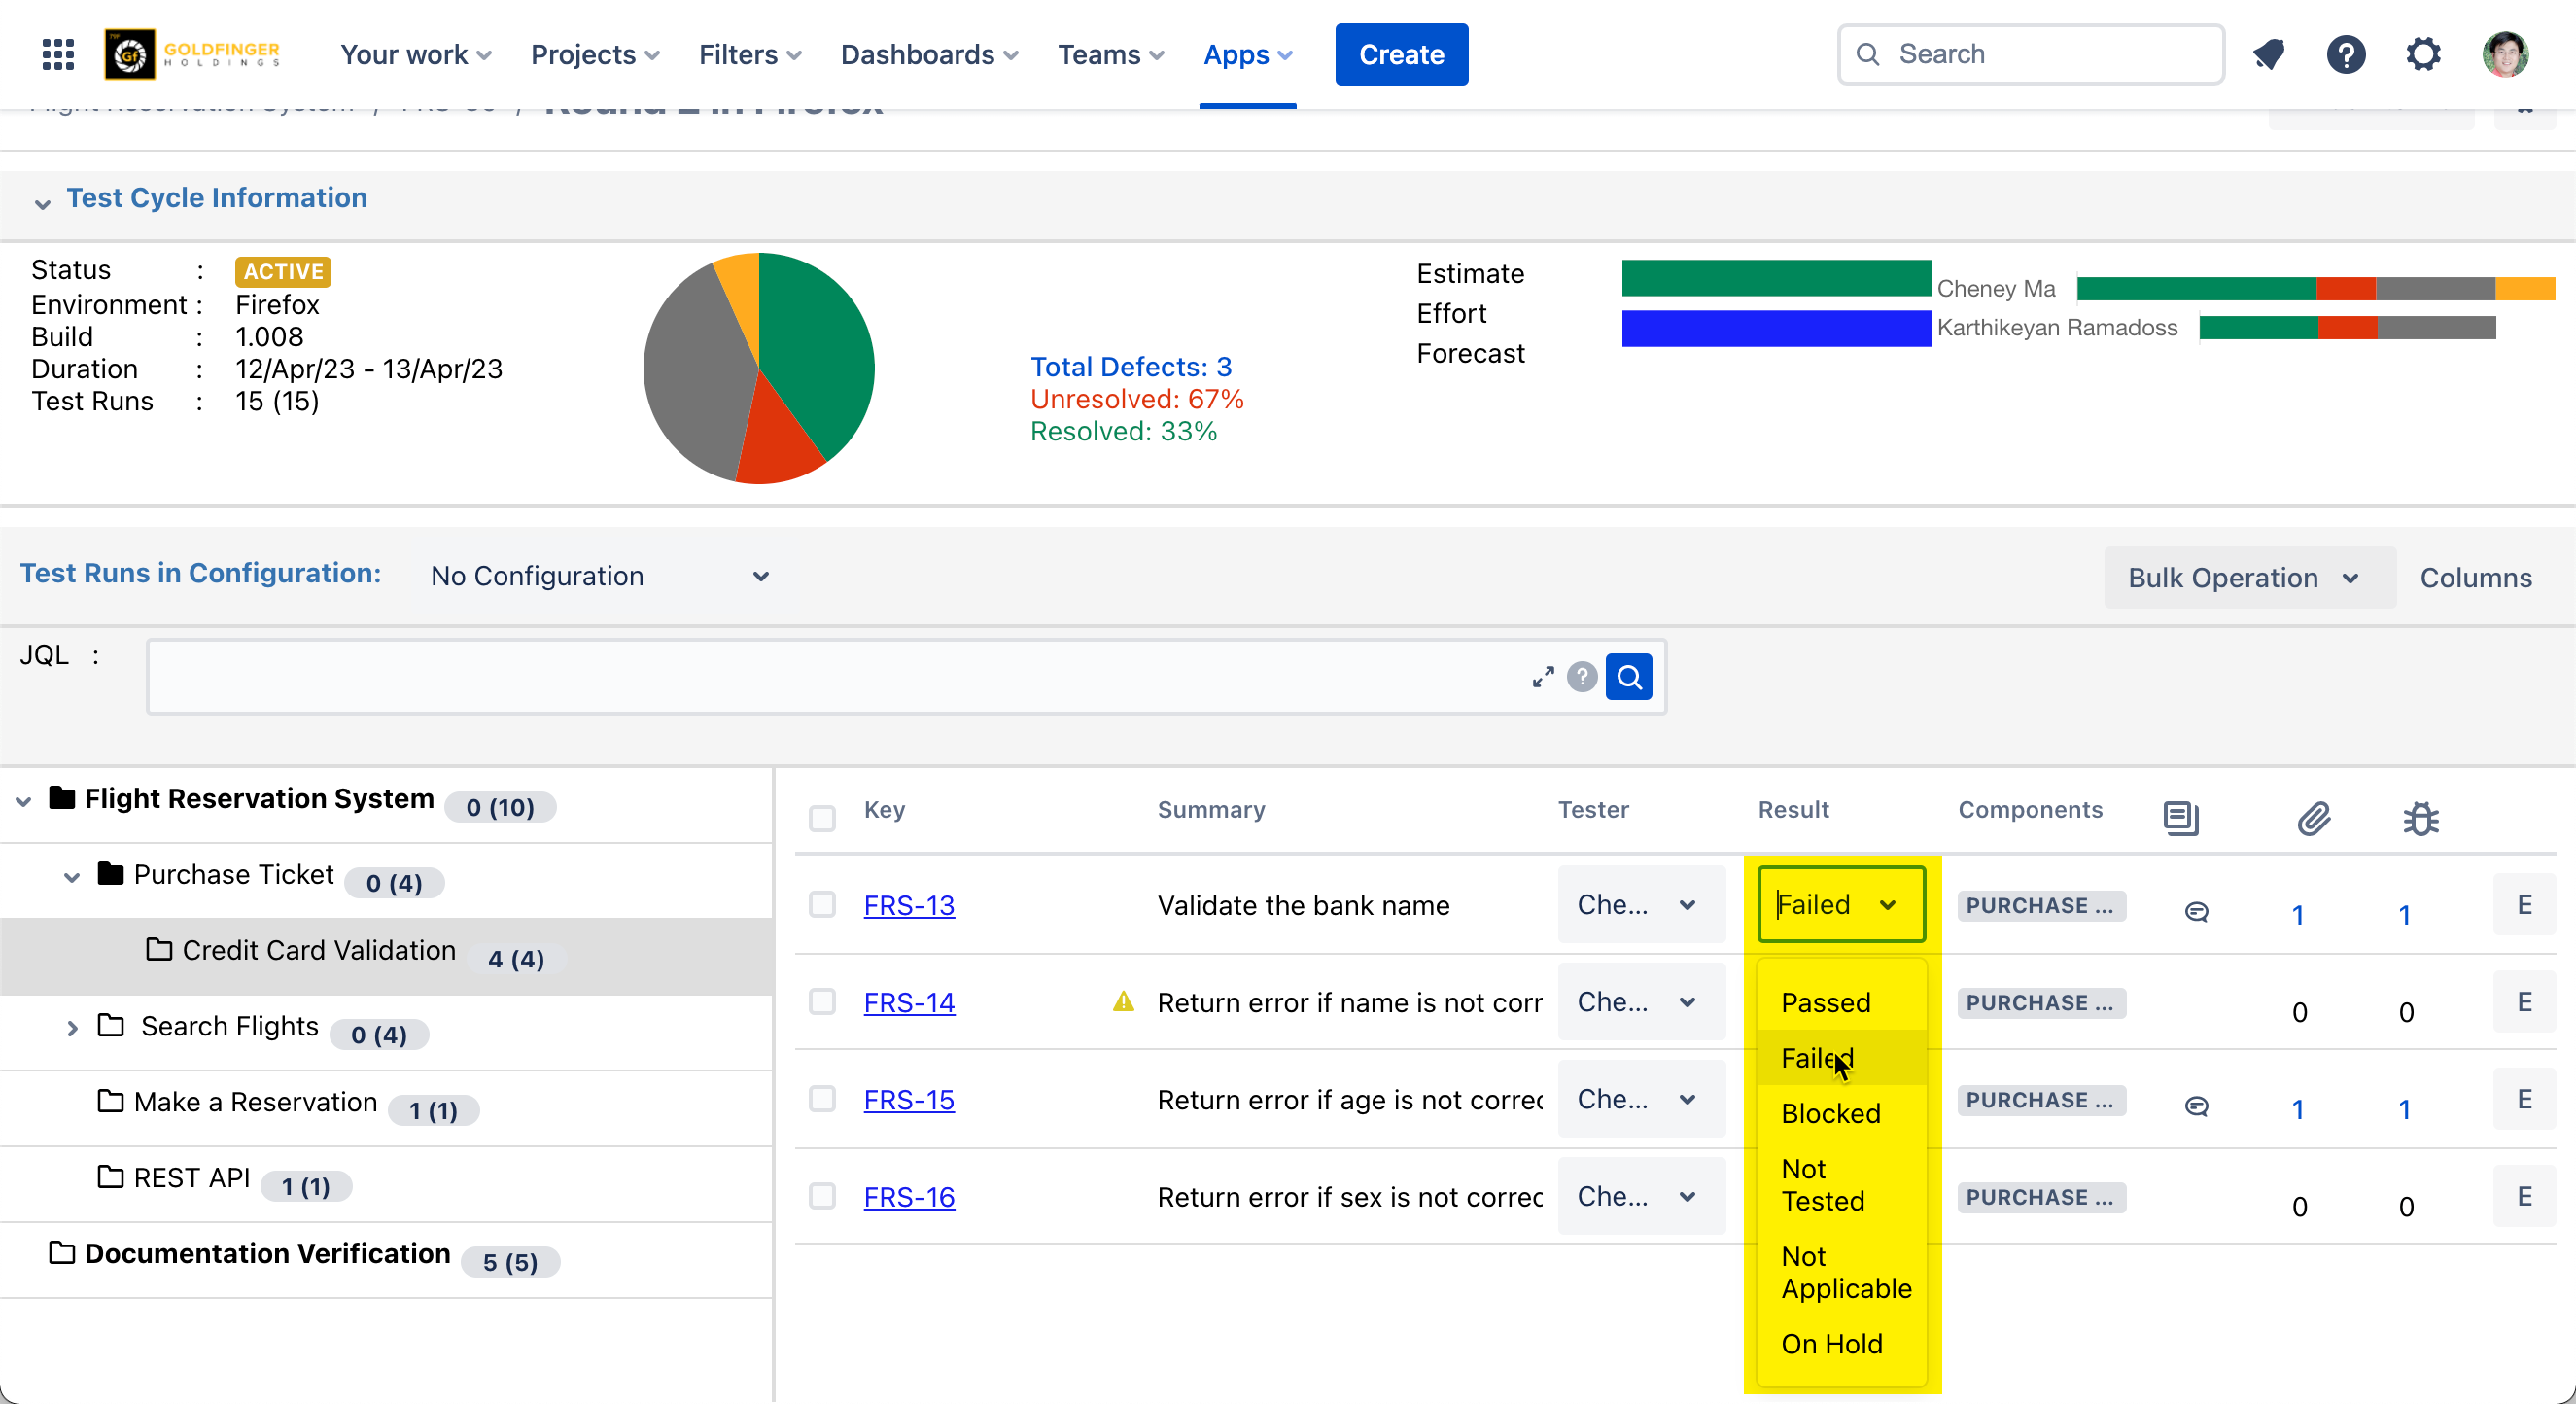
Updating Test Run Result
From test run dialog, click “Result” dropdown from “Run Attributes” section.
Select any result from candidate list, the test run result will be set to the selected one.
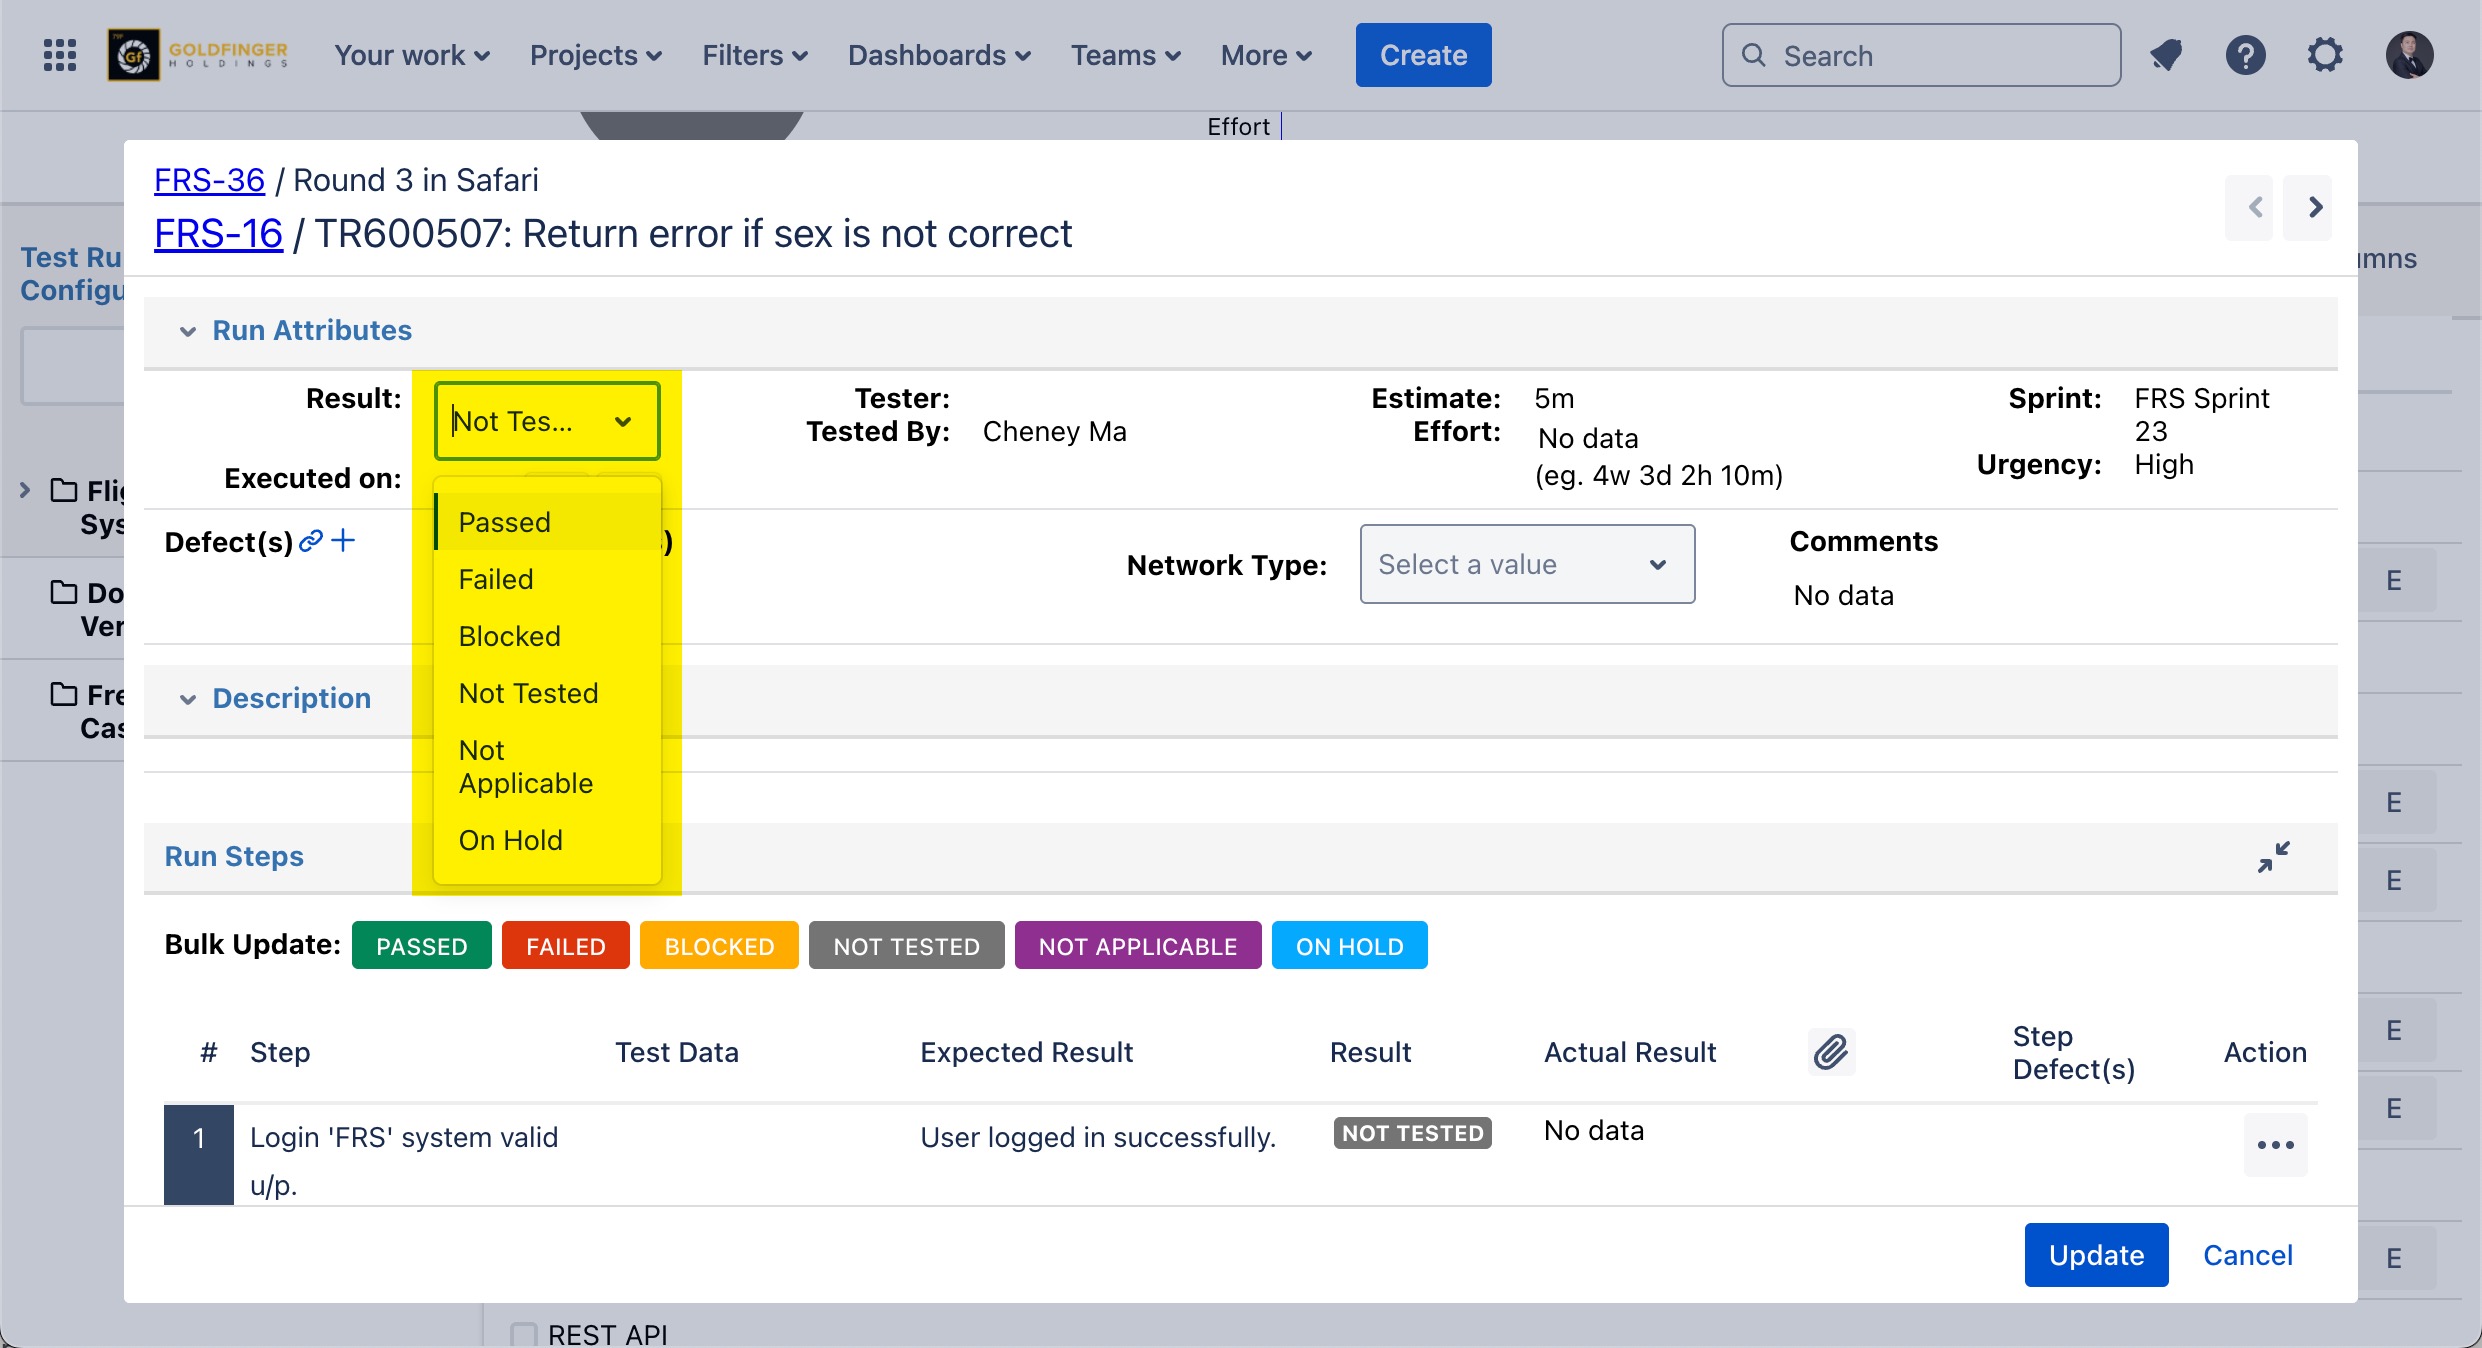
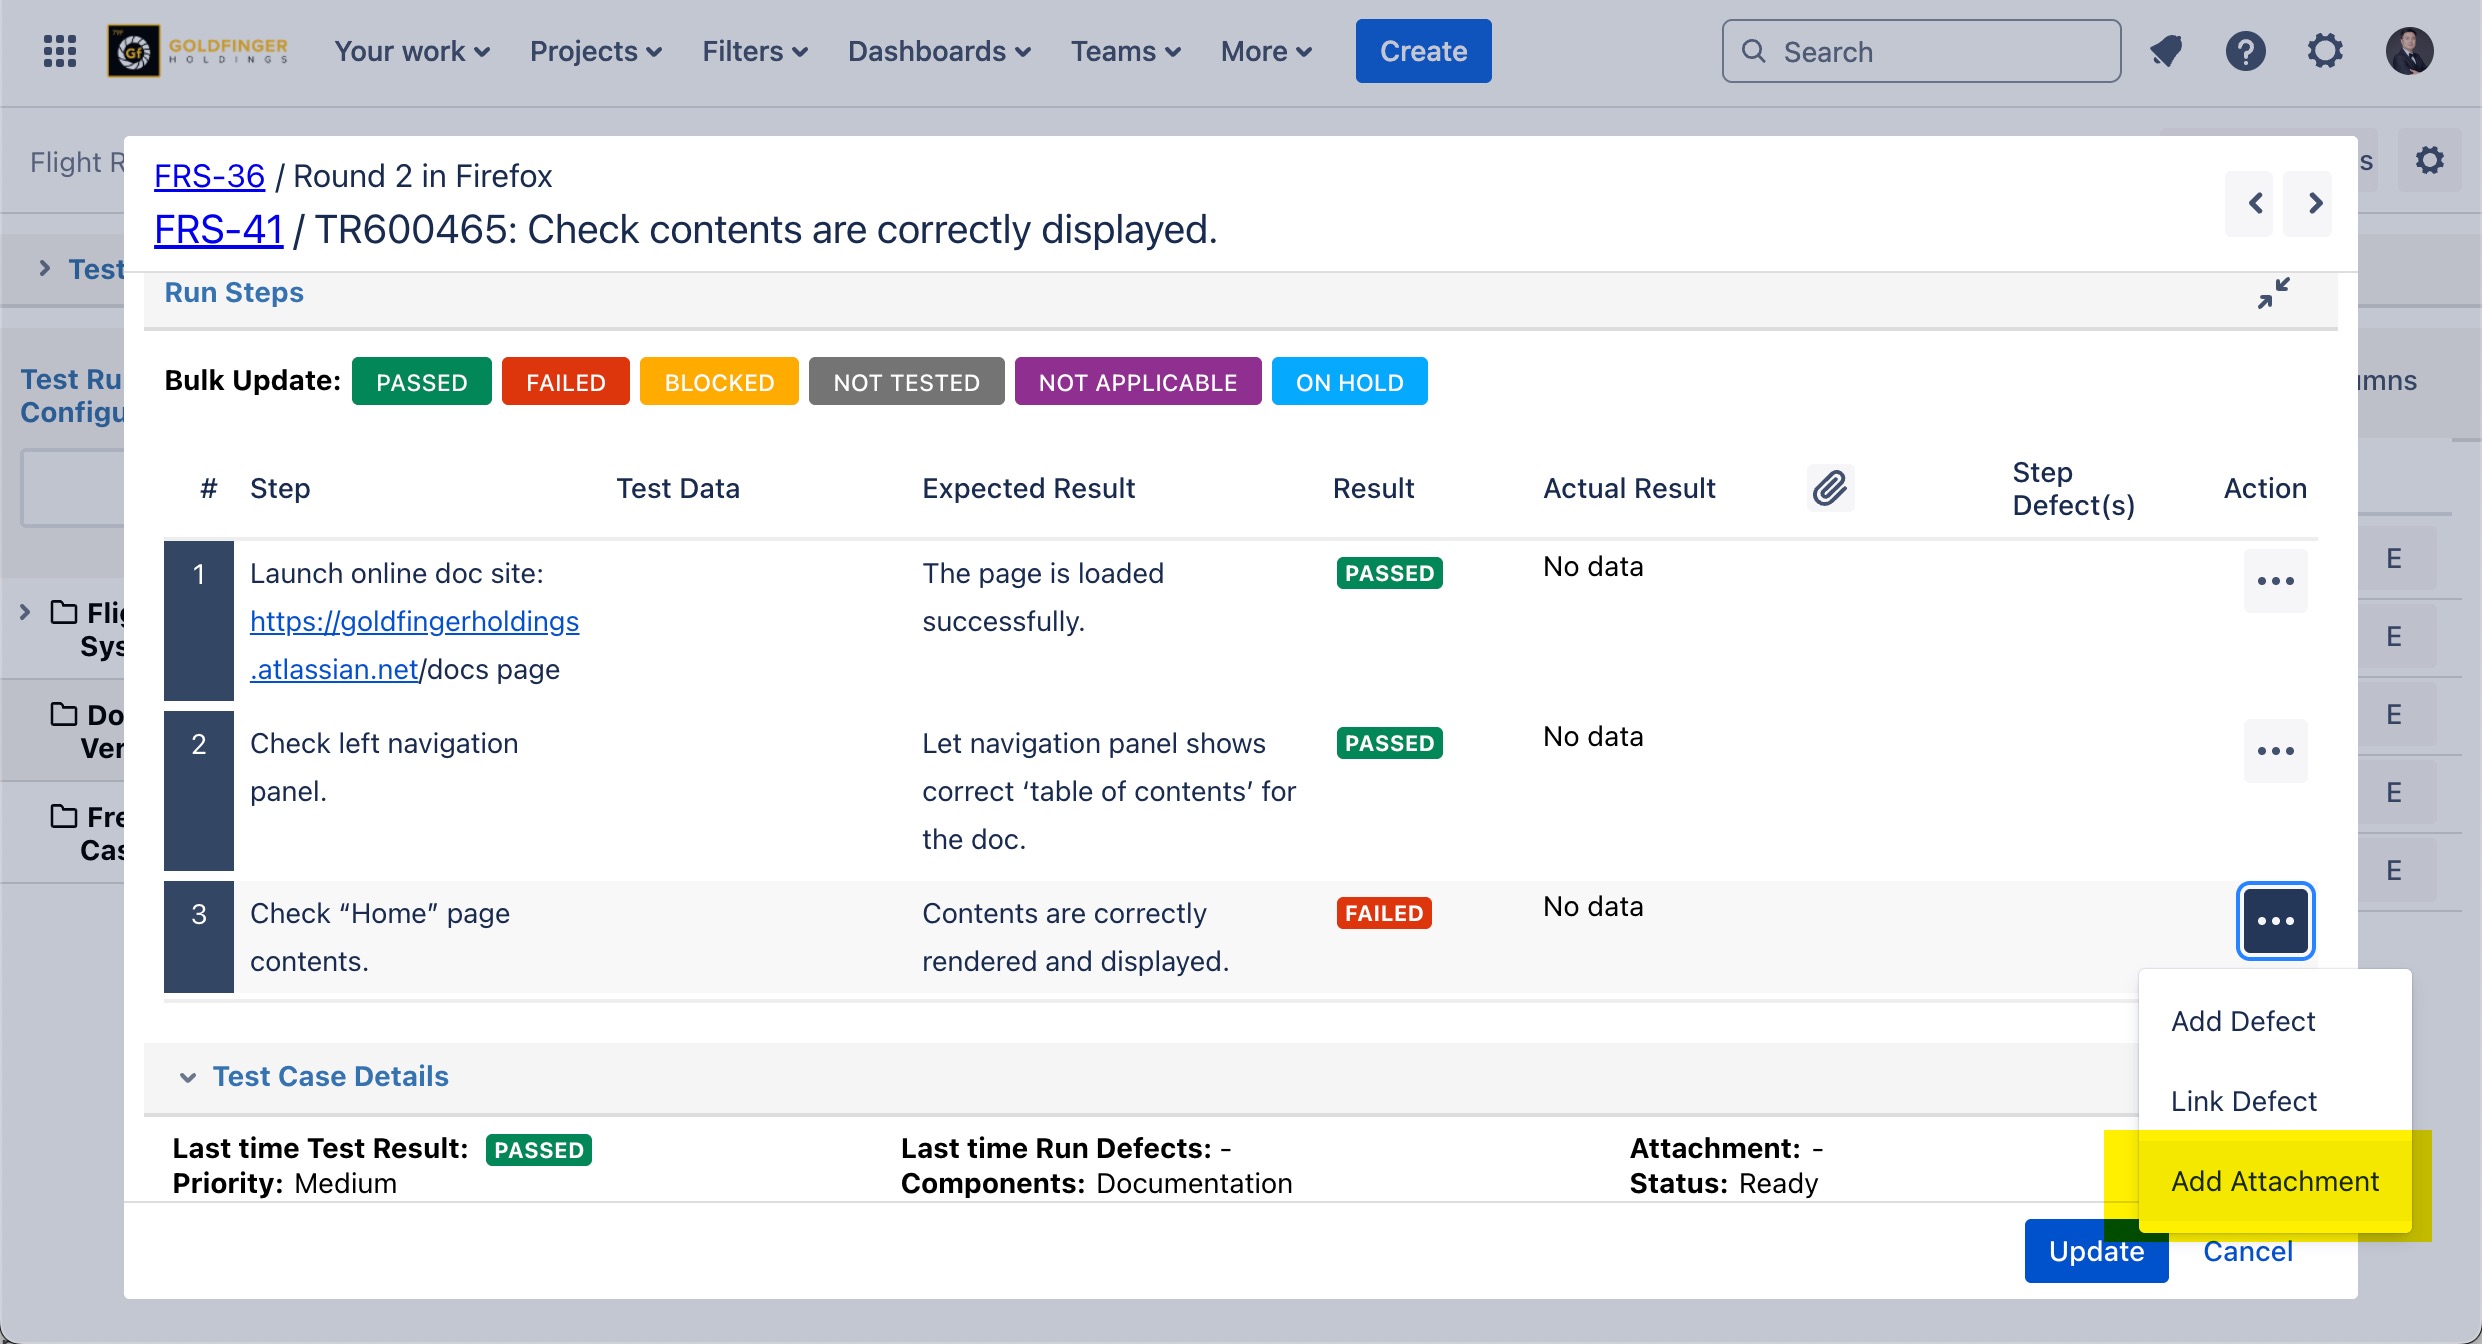
You can also set test step result by clicking “Result” dropdown from “Run Steps” section.

Note: Click a result from “Bulk Update” section just above execution steps, will update all steps with the result.
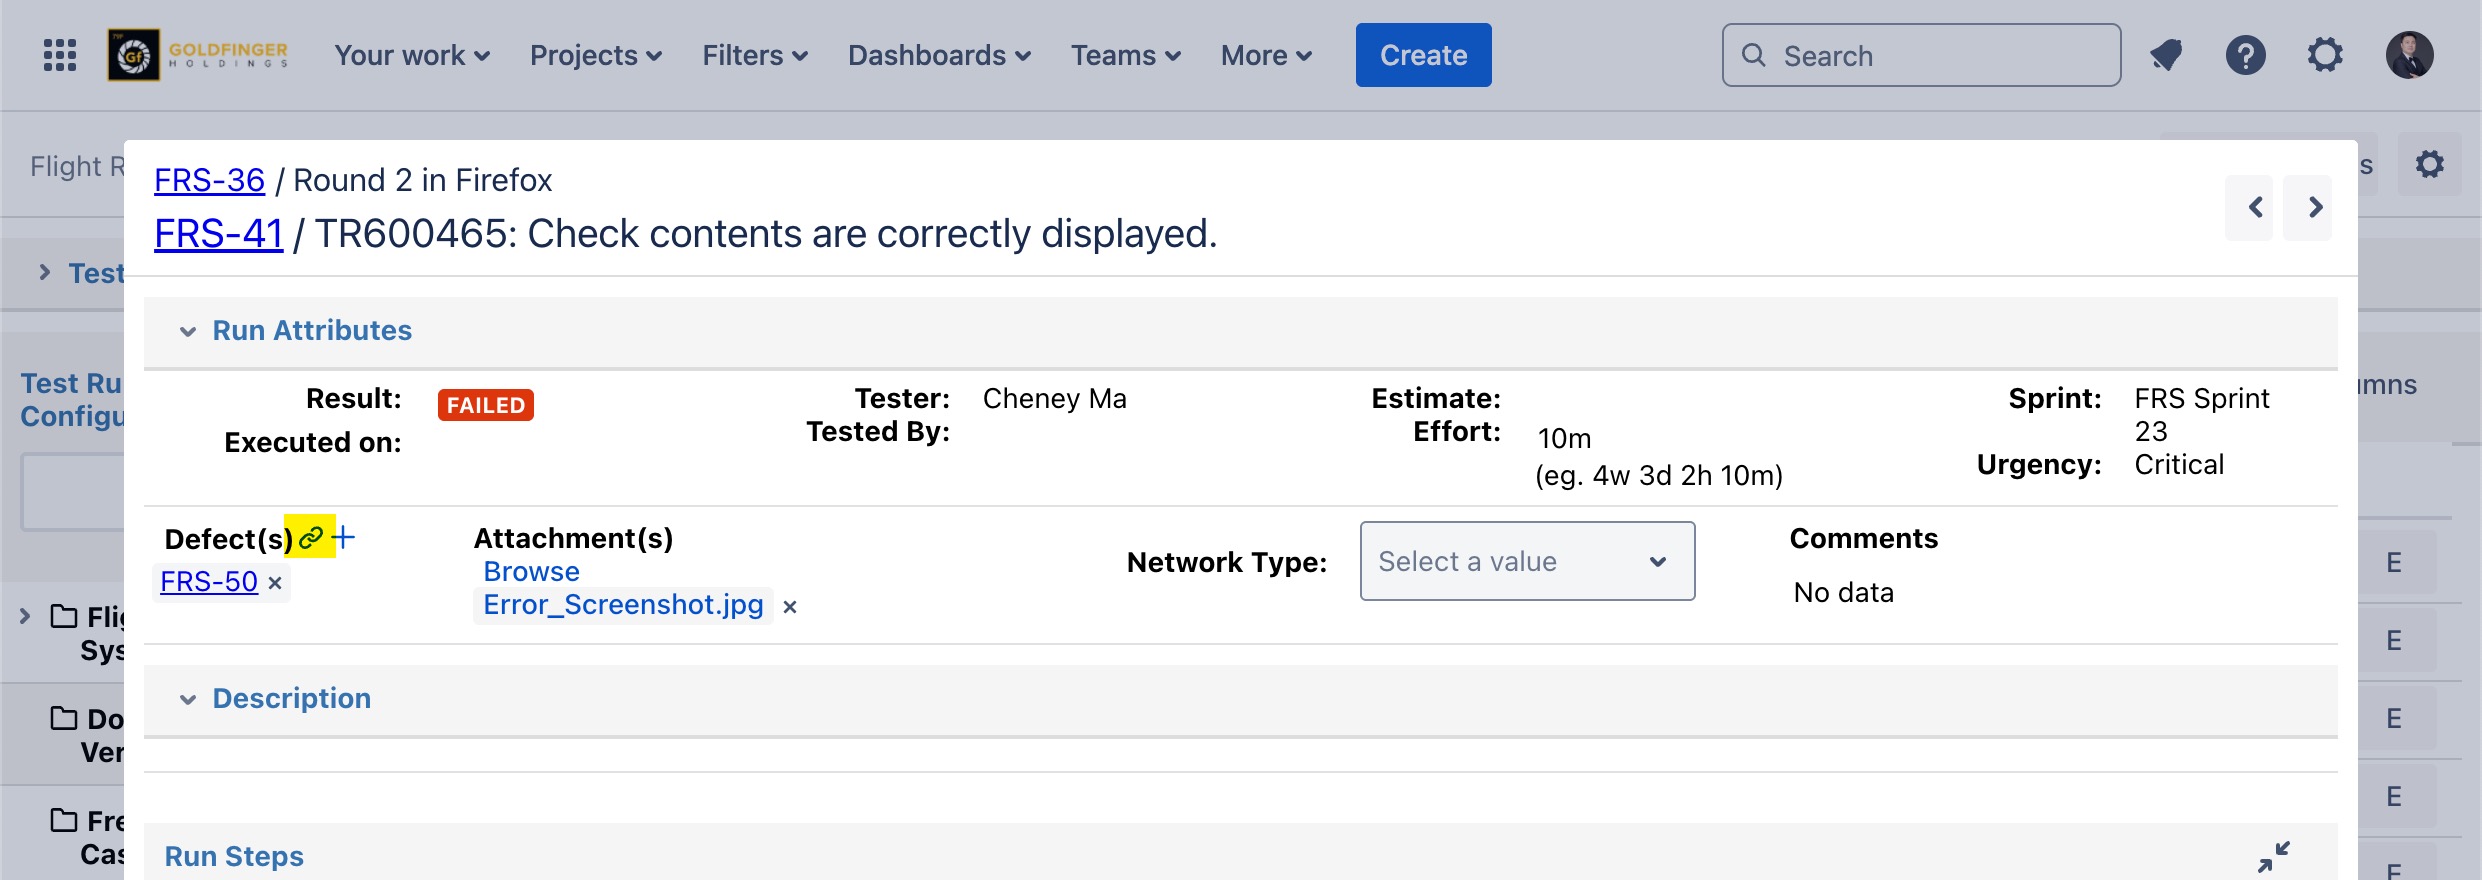
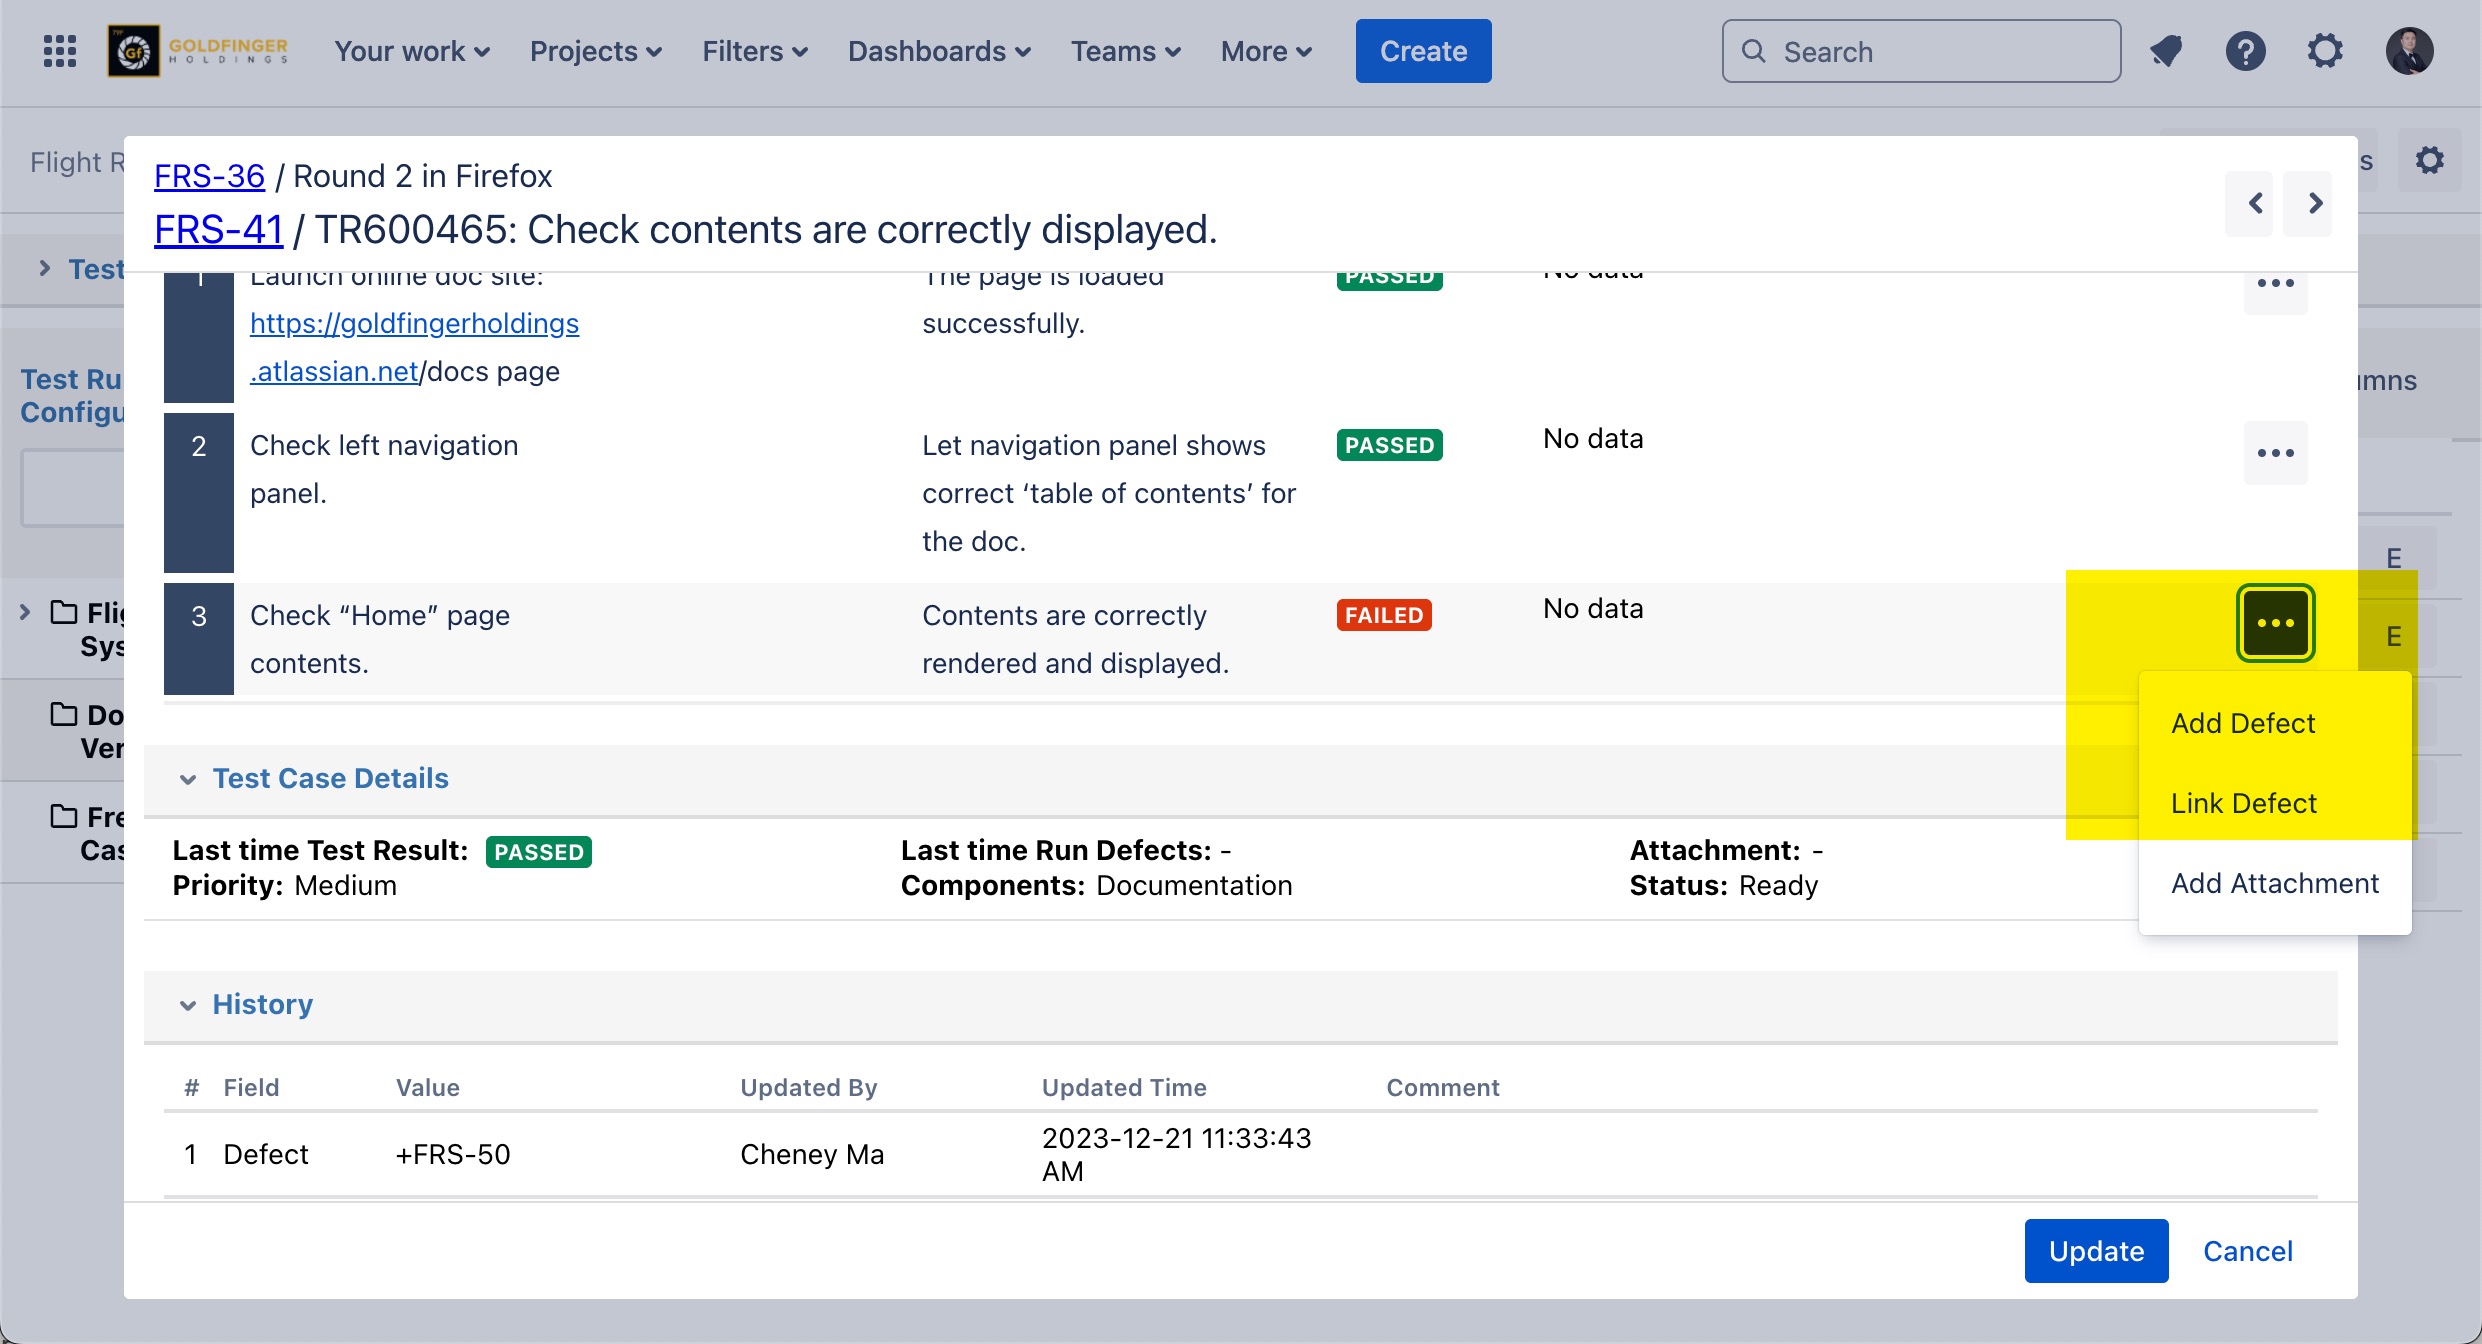
Creating Defect to Test Run
From test run dialog, click “+” icon adjoining “Defect (s)”.
It launches “Create issue” dialog box, and the issue type will be changed to “Defect” automatically.
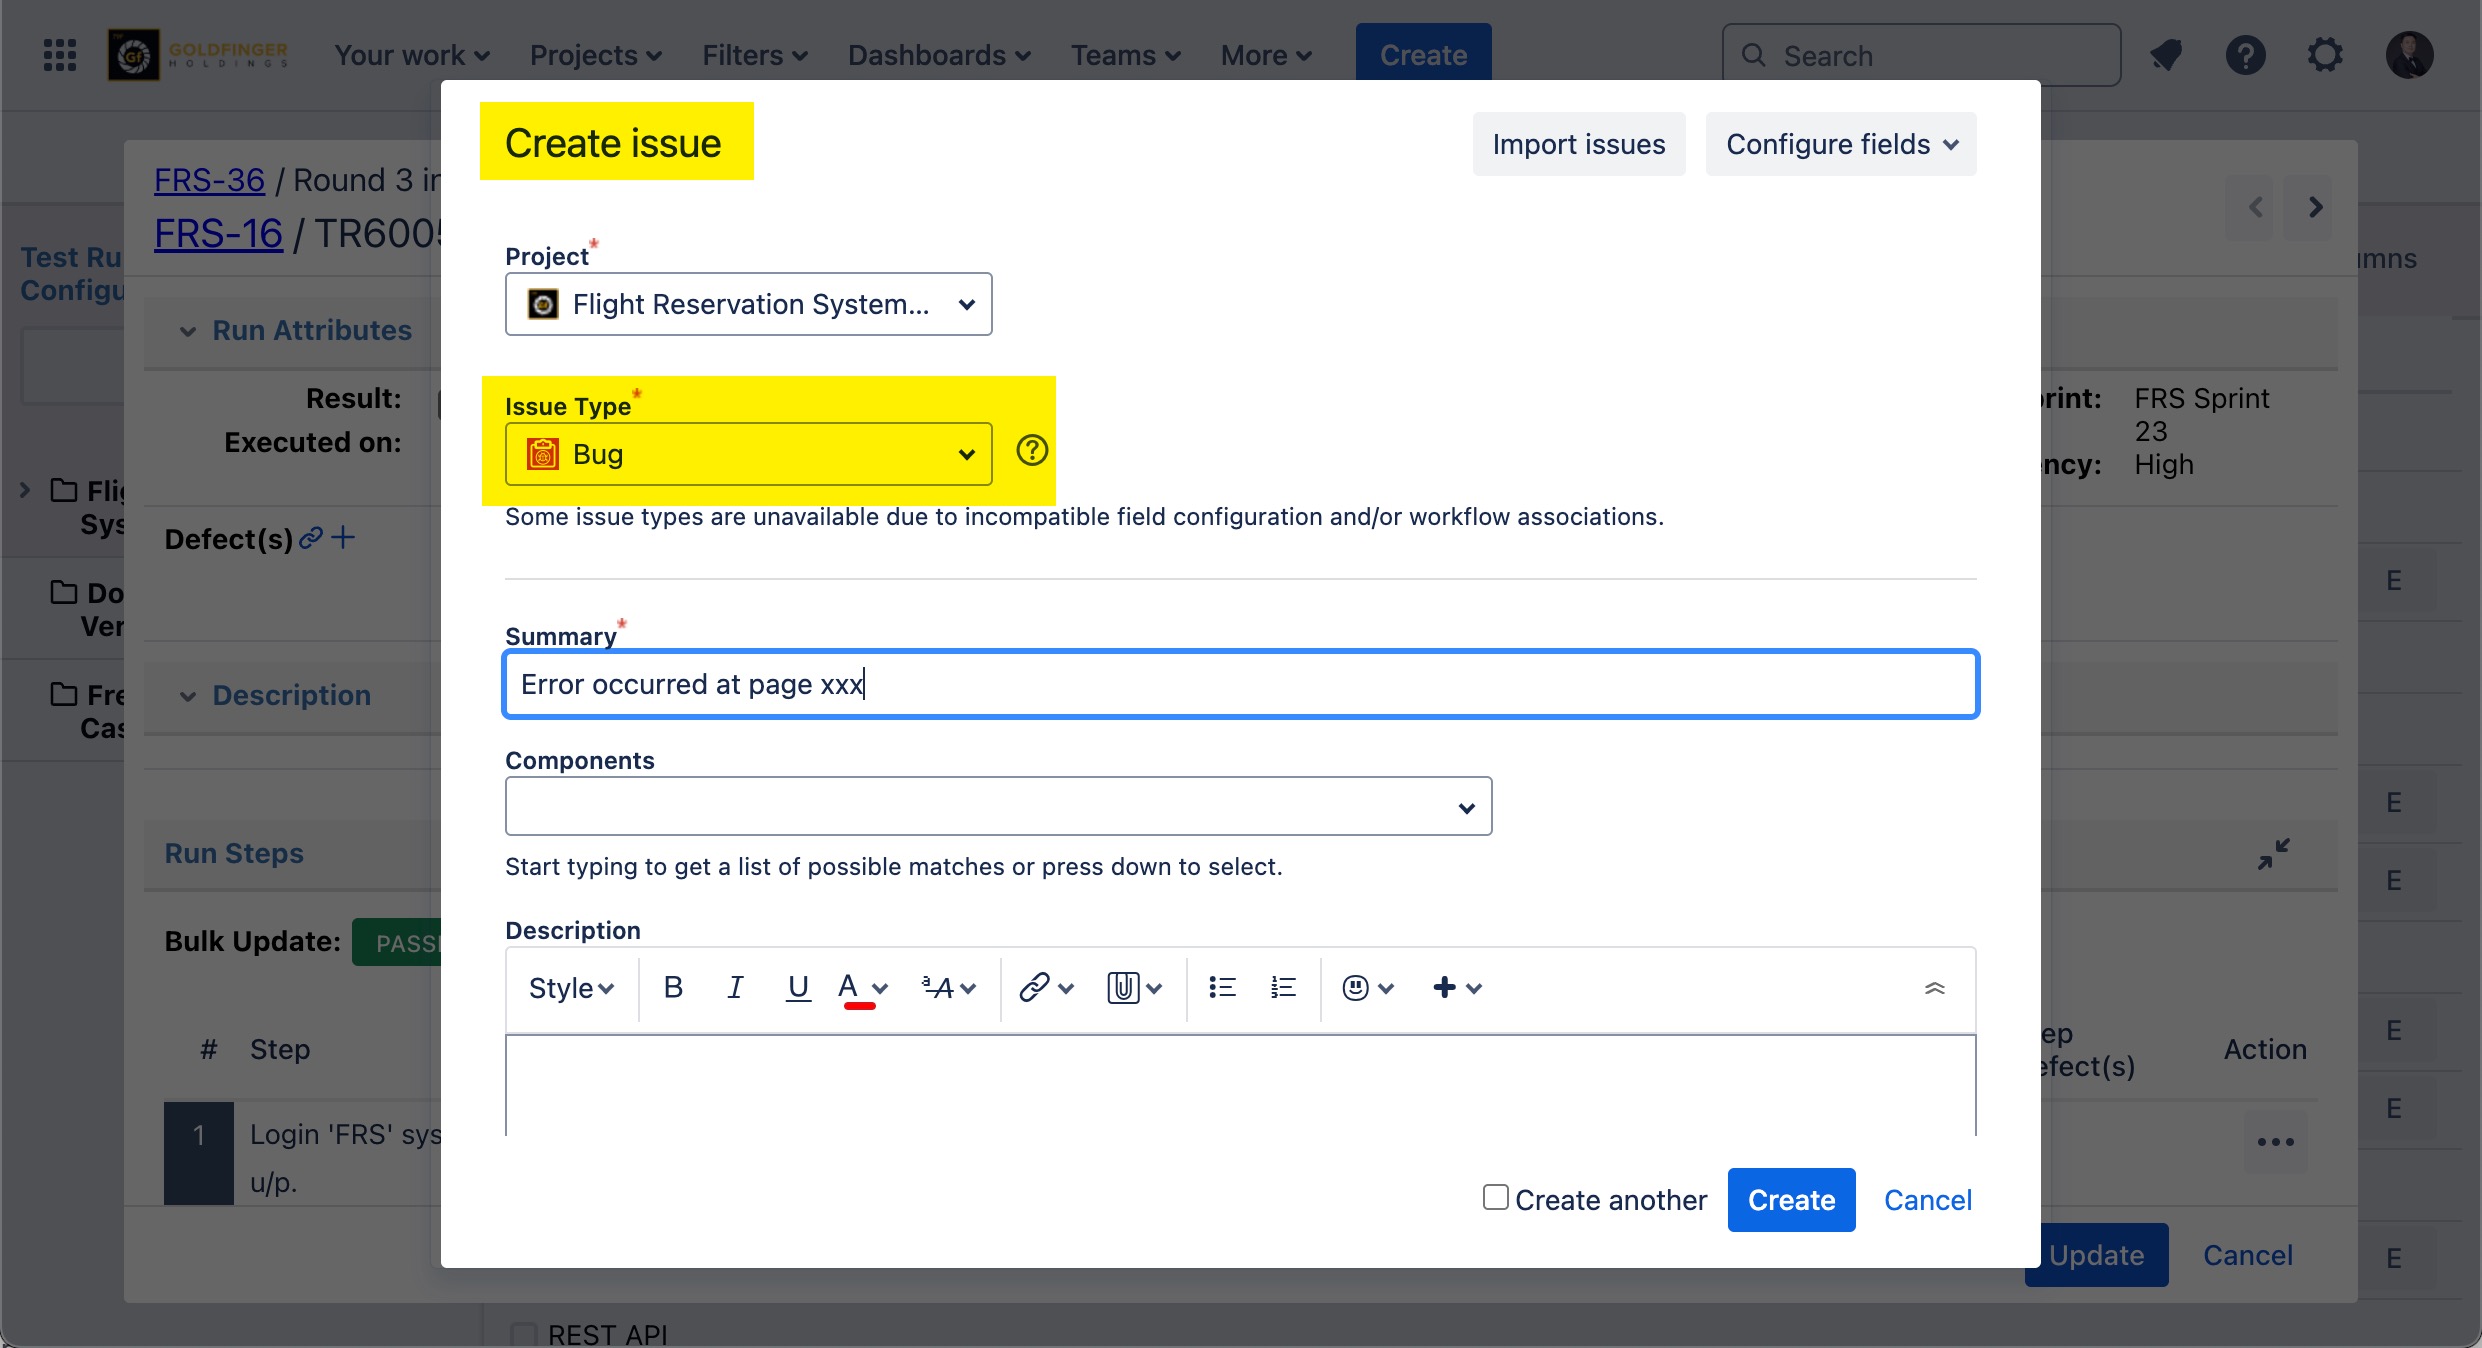
Provide proper defect information and then click “Create” button. The defect will be created and assigned to the test run automatically.
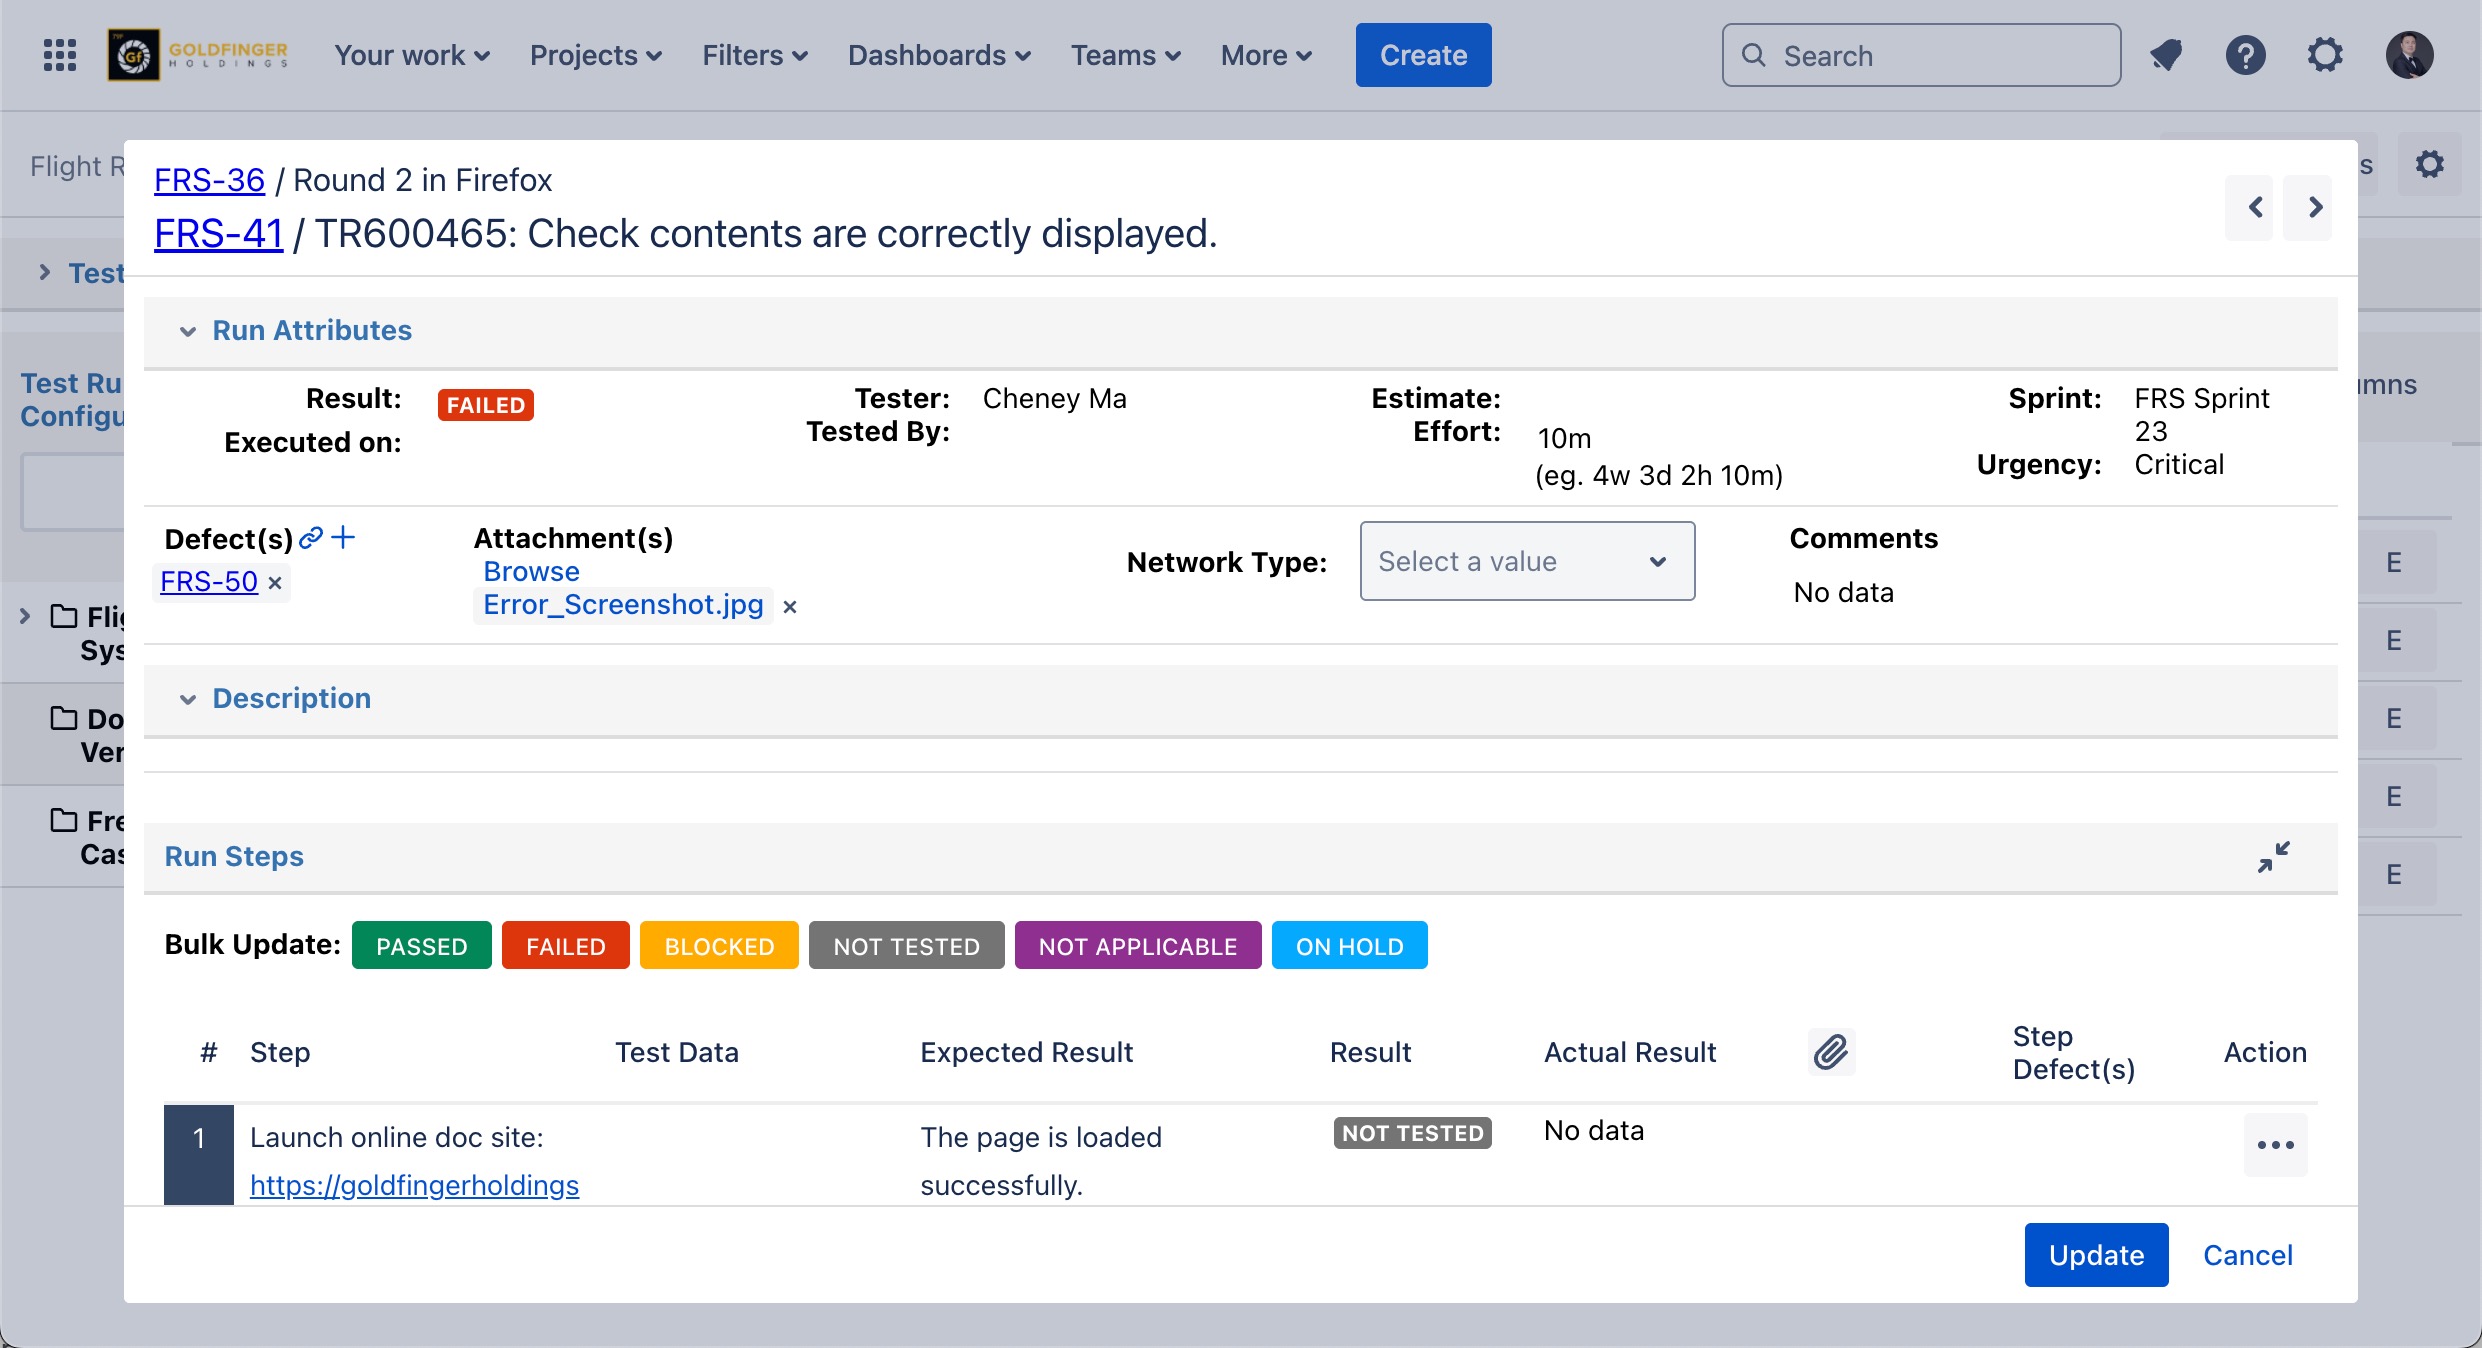
If you want to link an existing defect to this test run, use “Link” icon.
Creating/linking defect also can be done in test step level.
Uploading Artifacts to Test Run
From test run dialog, click “Browse” link adjoining “Attachment(s)”.
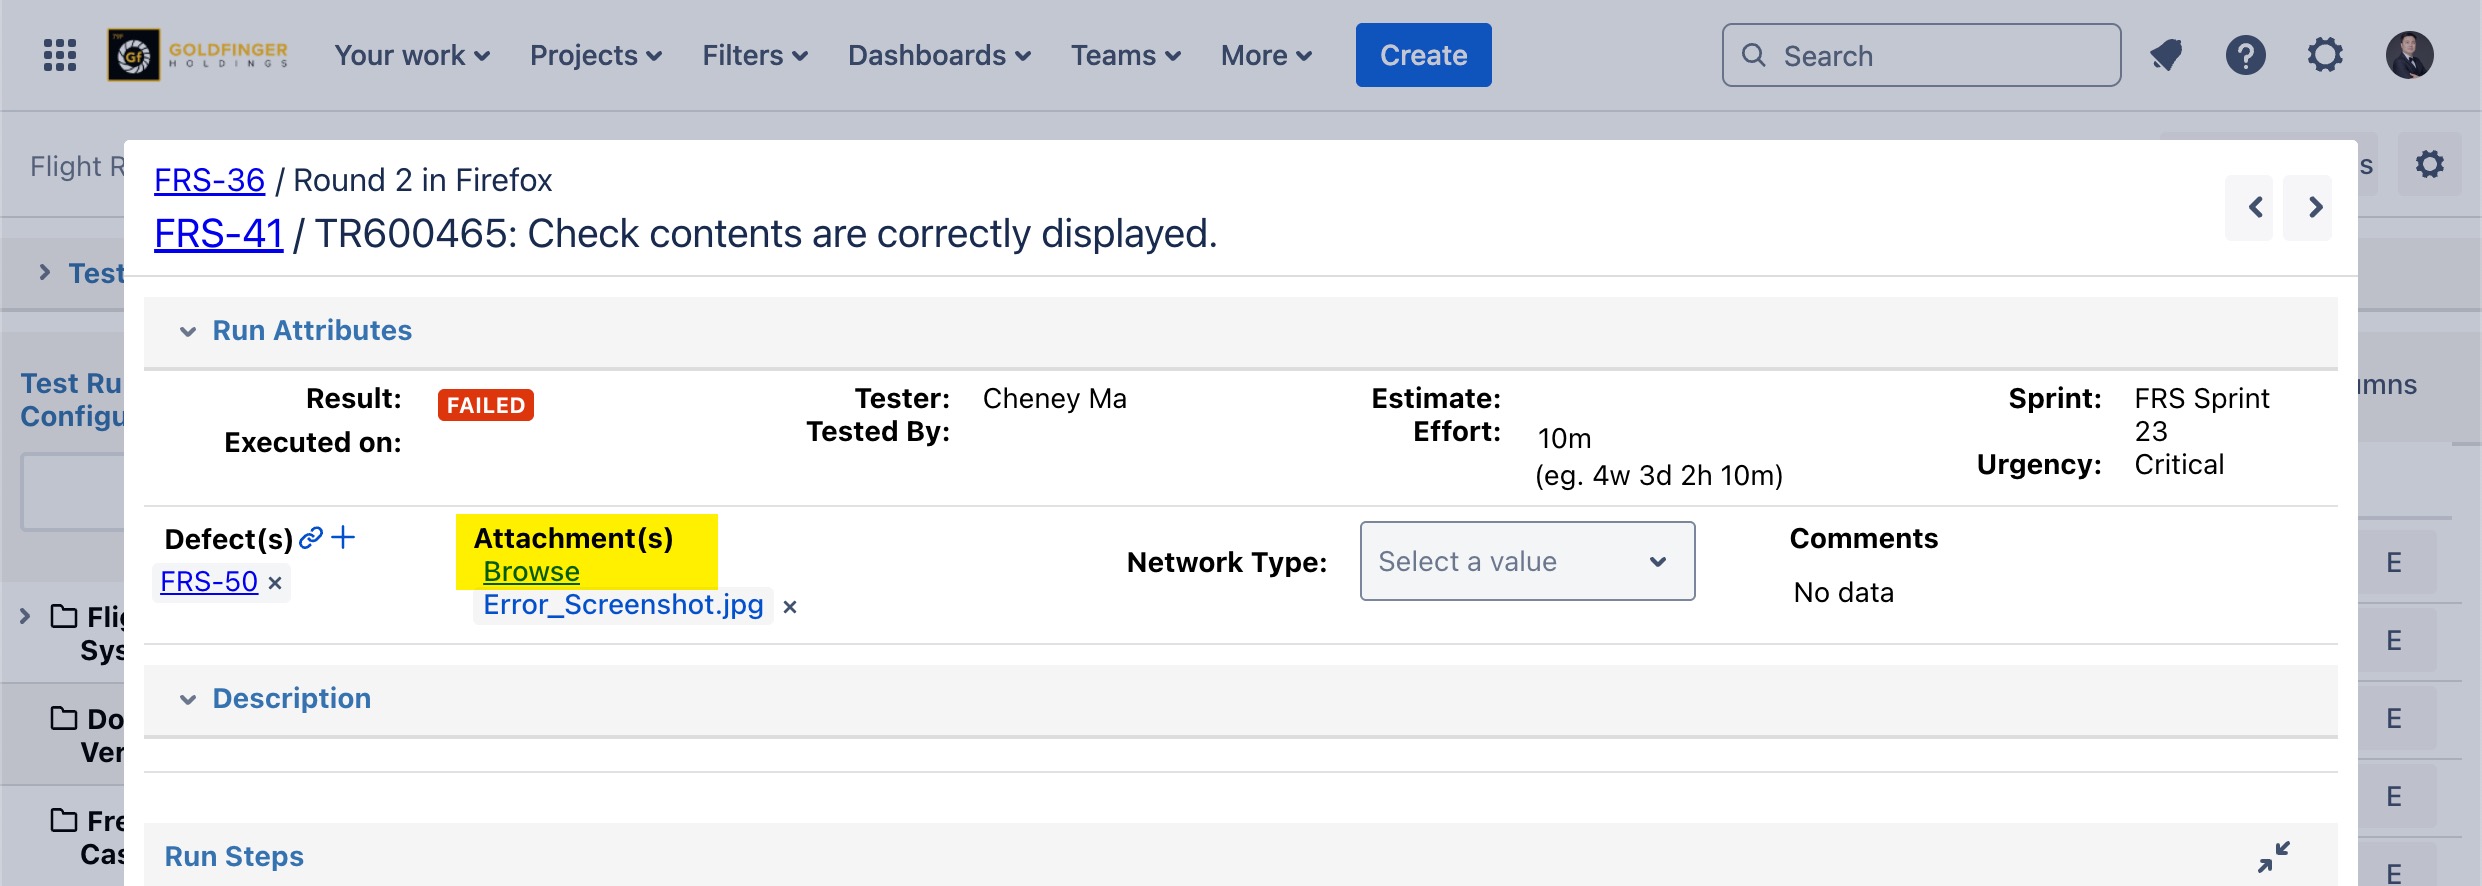
Uploading artifacts also can be done in test step level.
Filling Other Execution Information
User can also fill below additional information during execution:
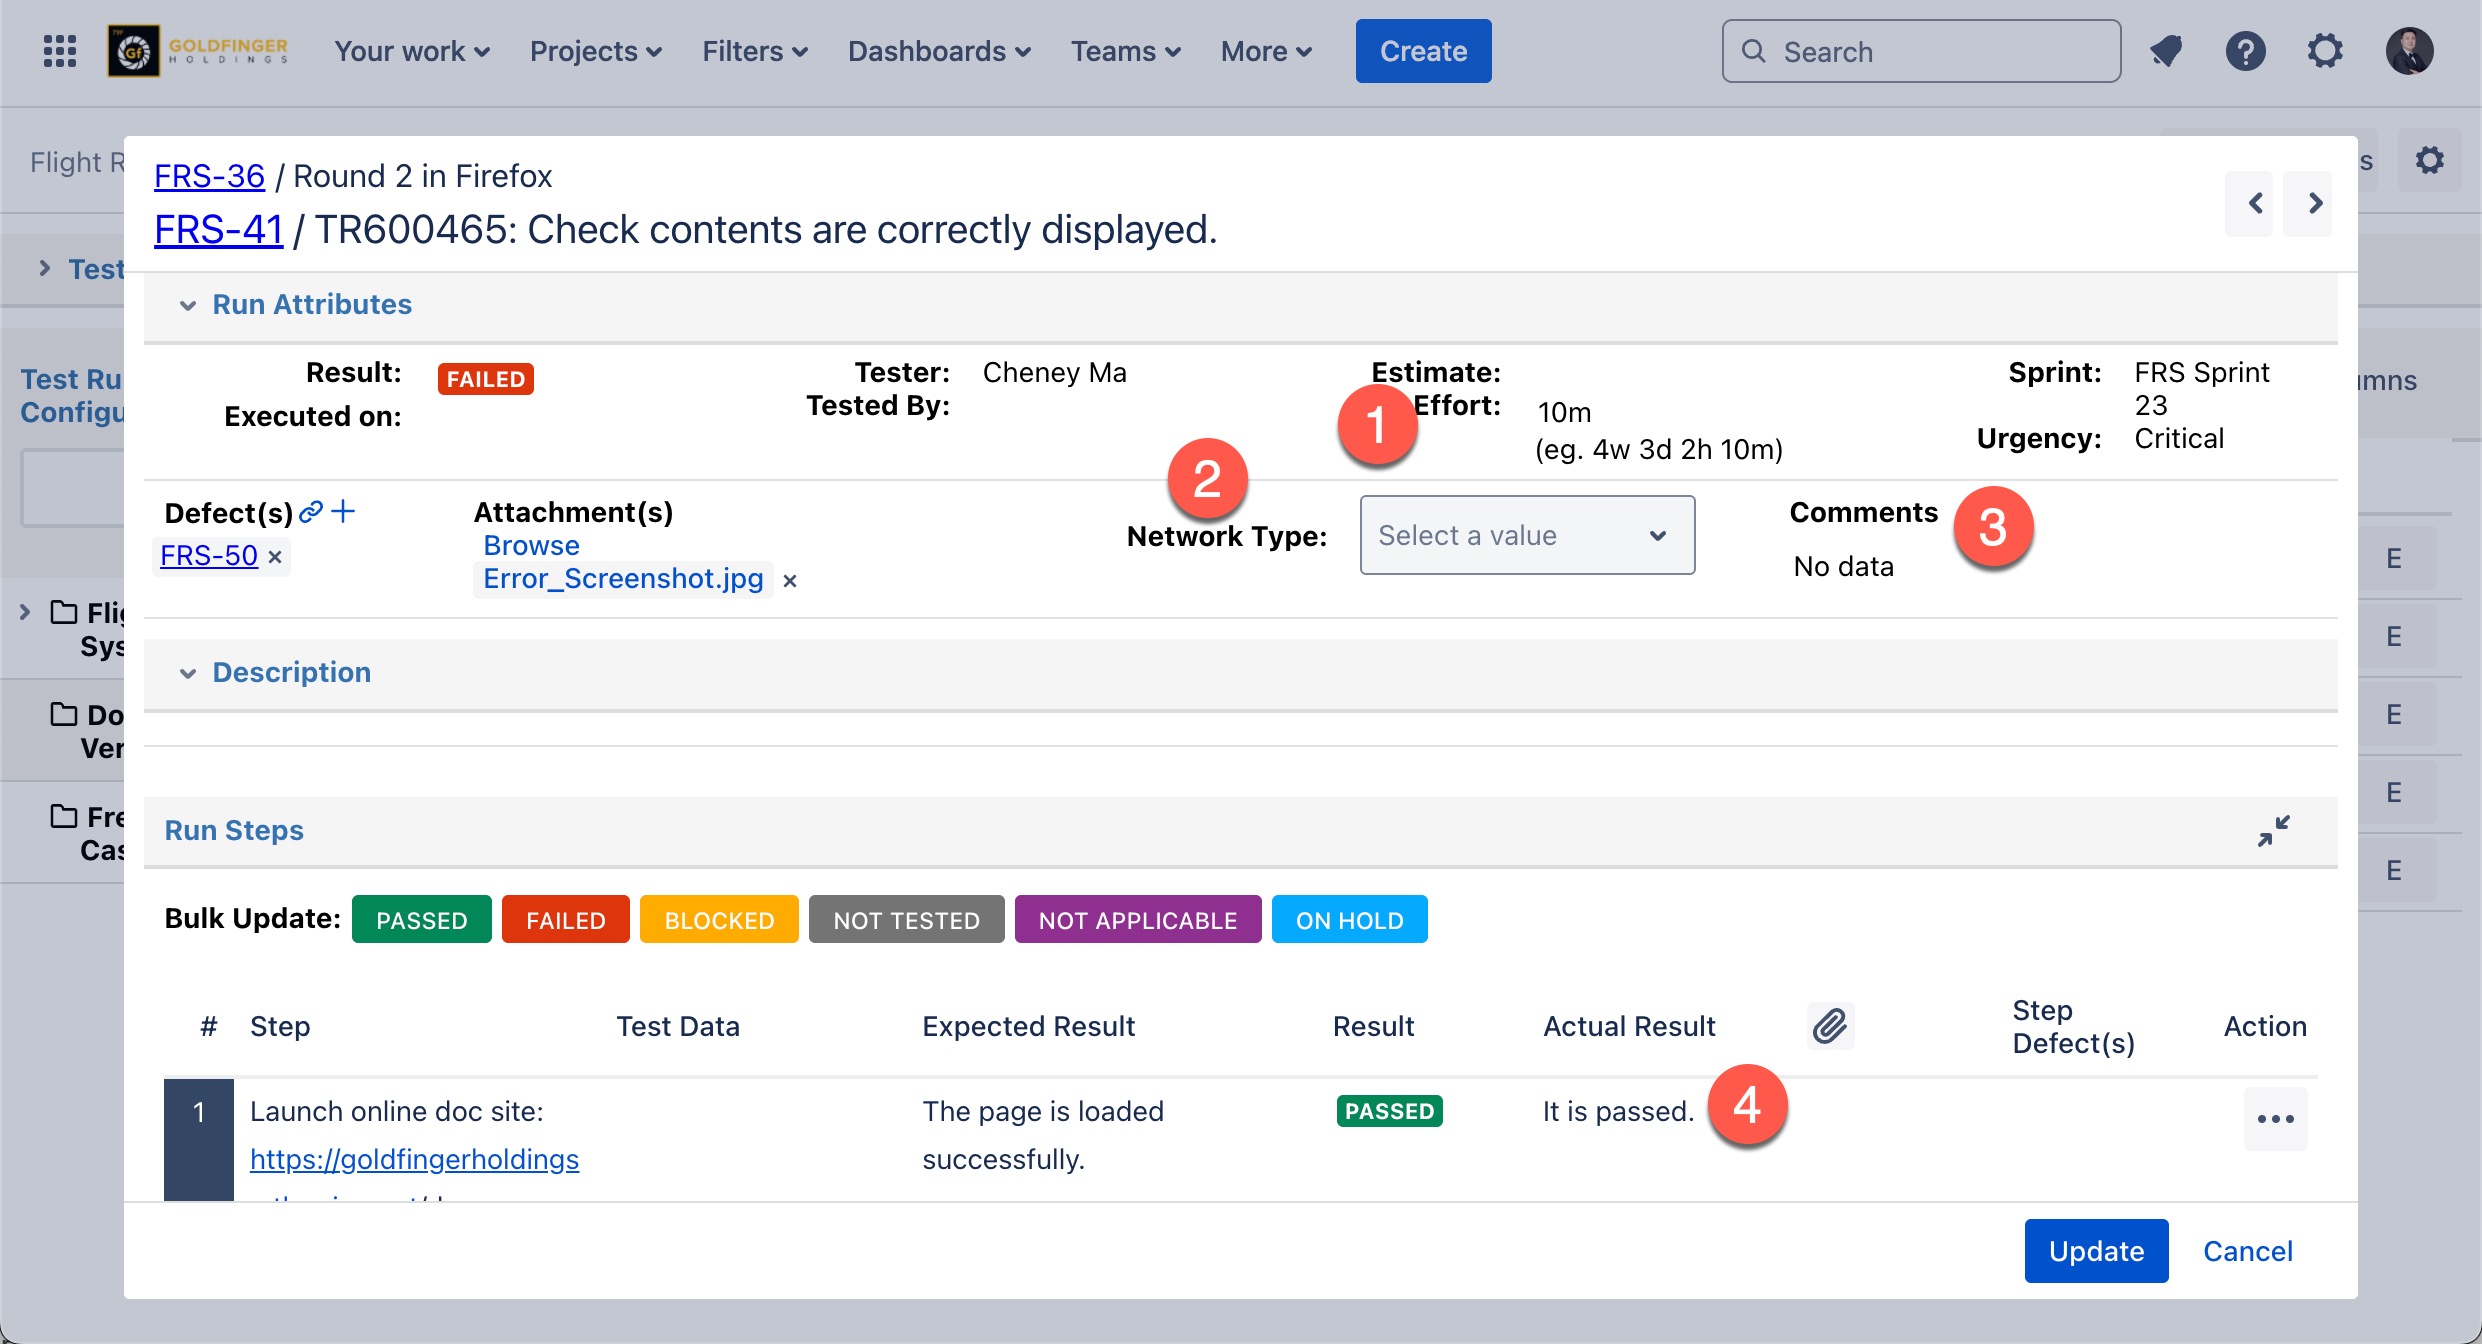
Effort: recording the time spent on this execution.
Test Run Field: Additional field for execution only, how to configure it please refer to: Project Settings
Comments: comments/nodes for the execution.
Actual Result: actual result for step execution.
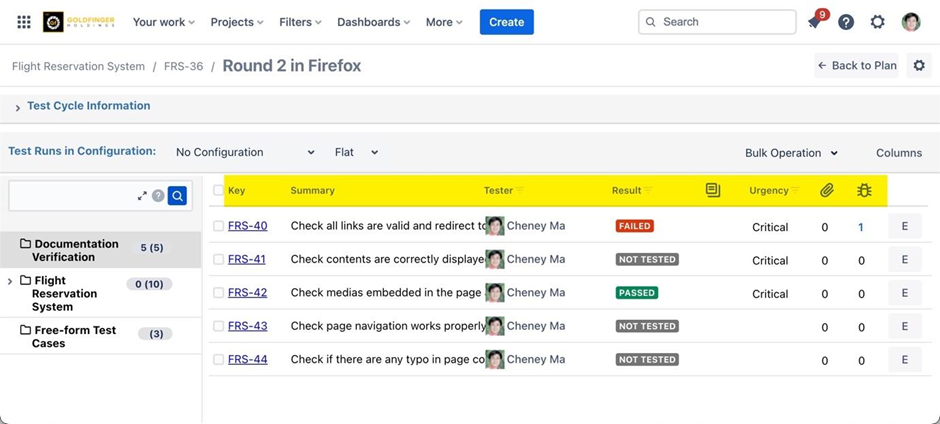
Configuring Test Run Columns
Launch an active test cycle.
Click “Columns” button, select the fields that need to be displayed in the page, and then set the order (number).
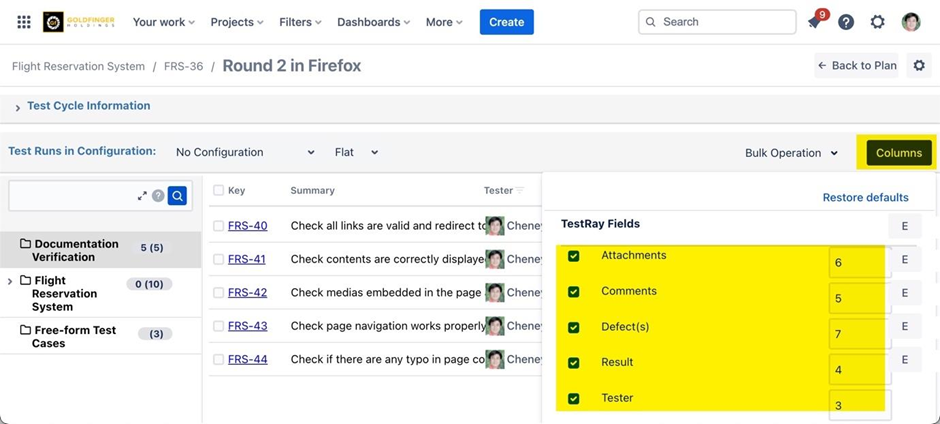
Click “Done” button at the bottom, the display columns are reflected in the test cycle page.
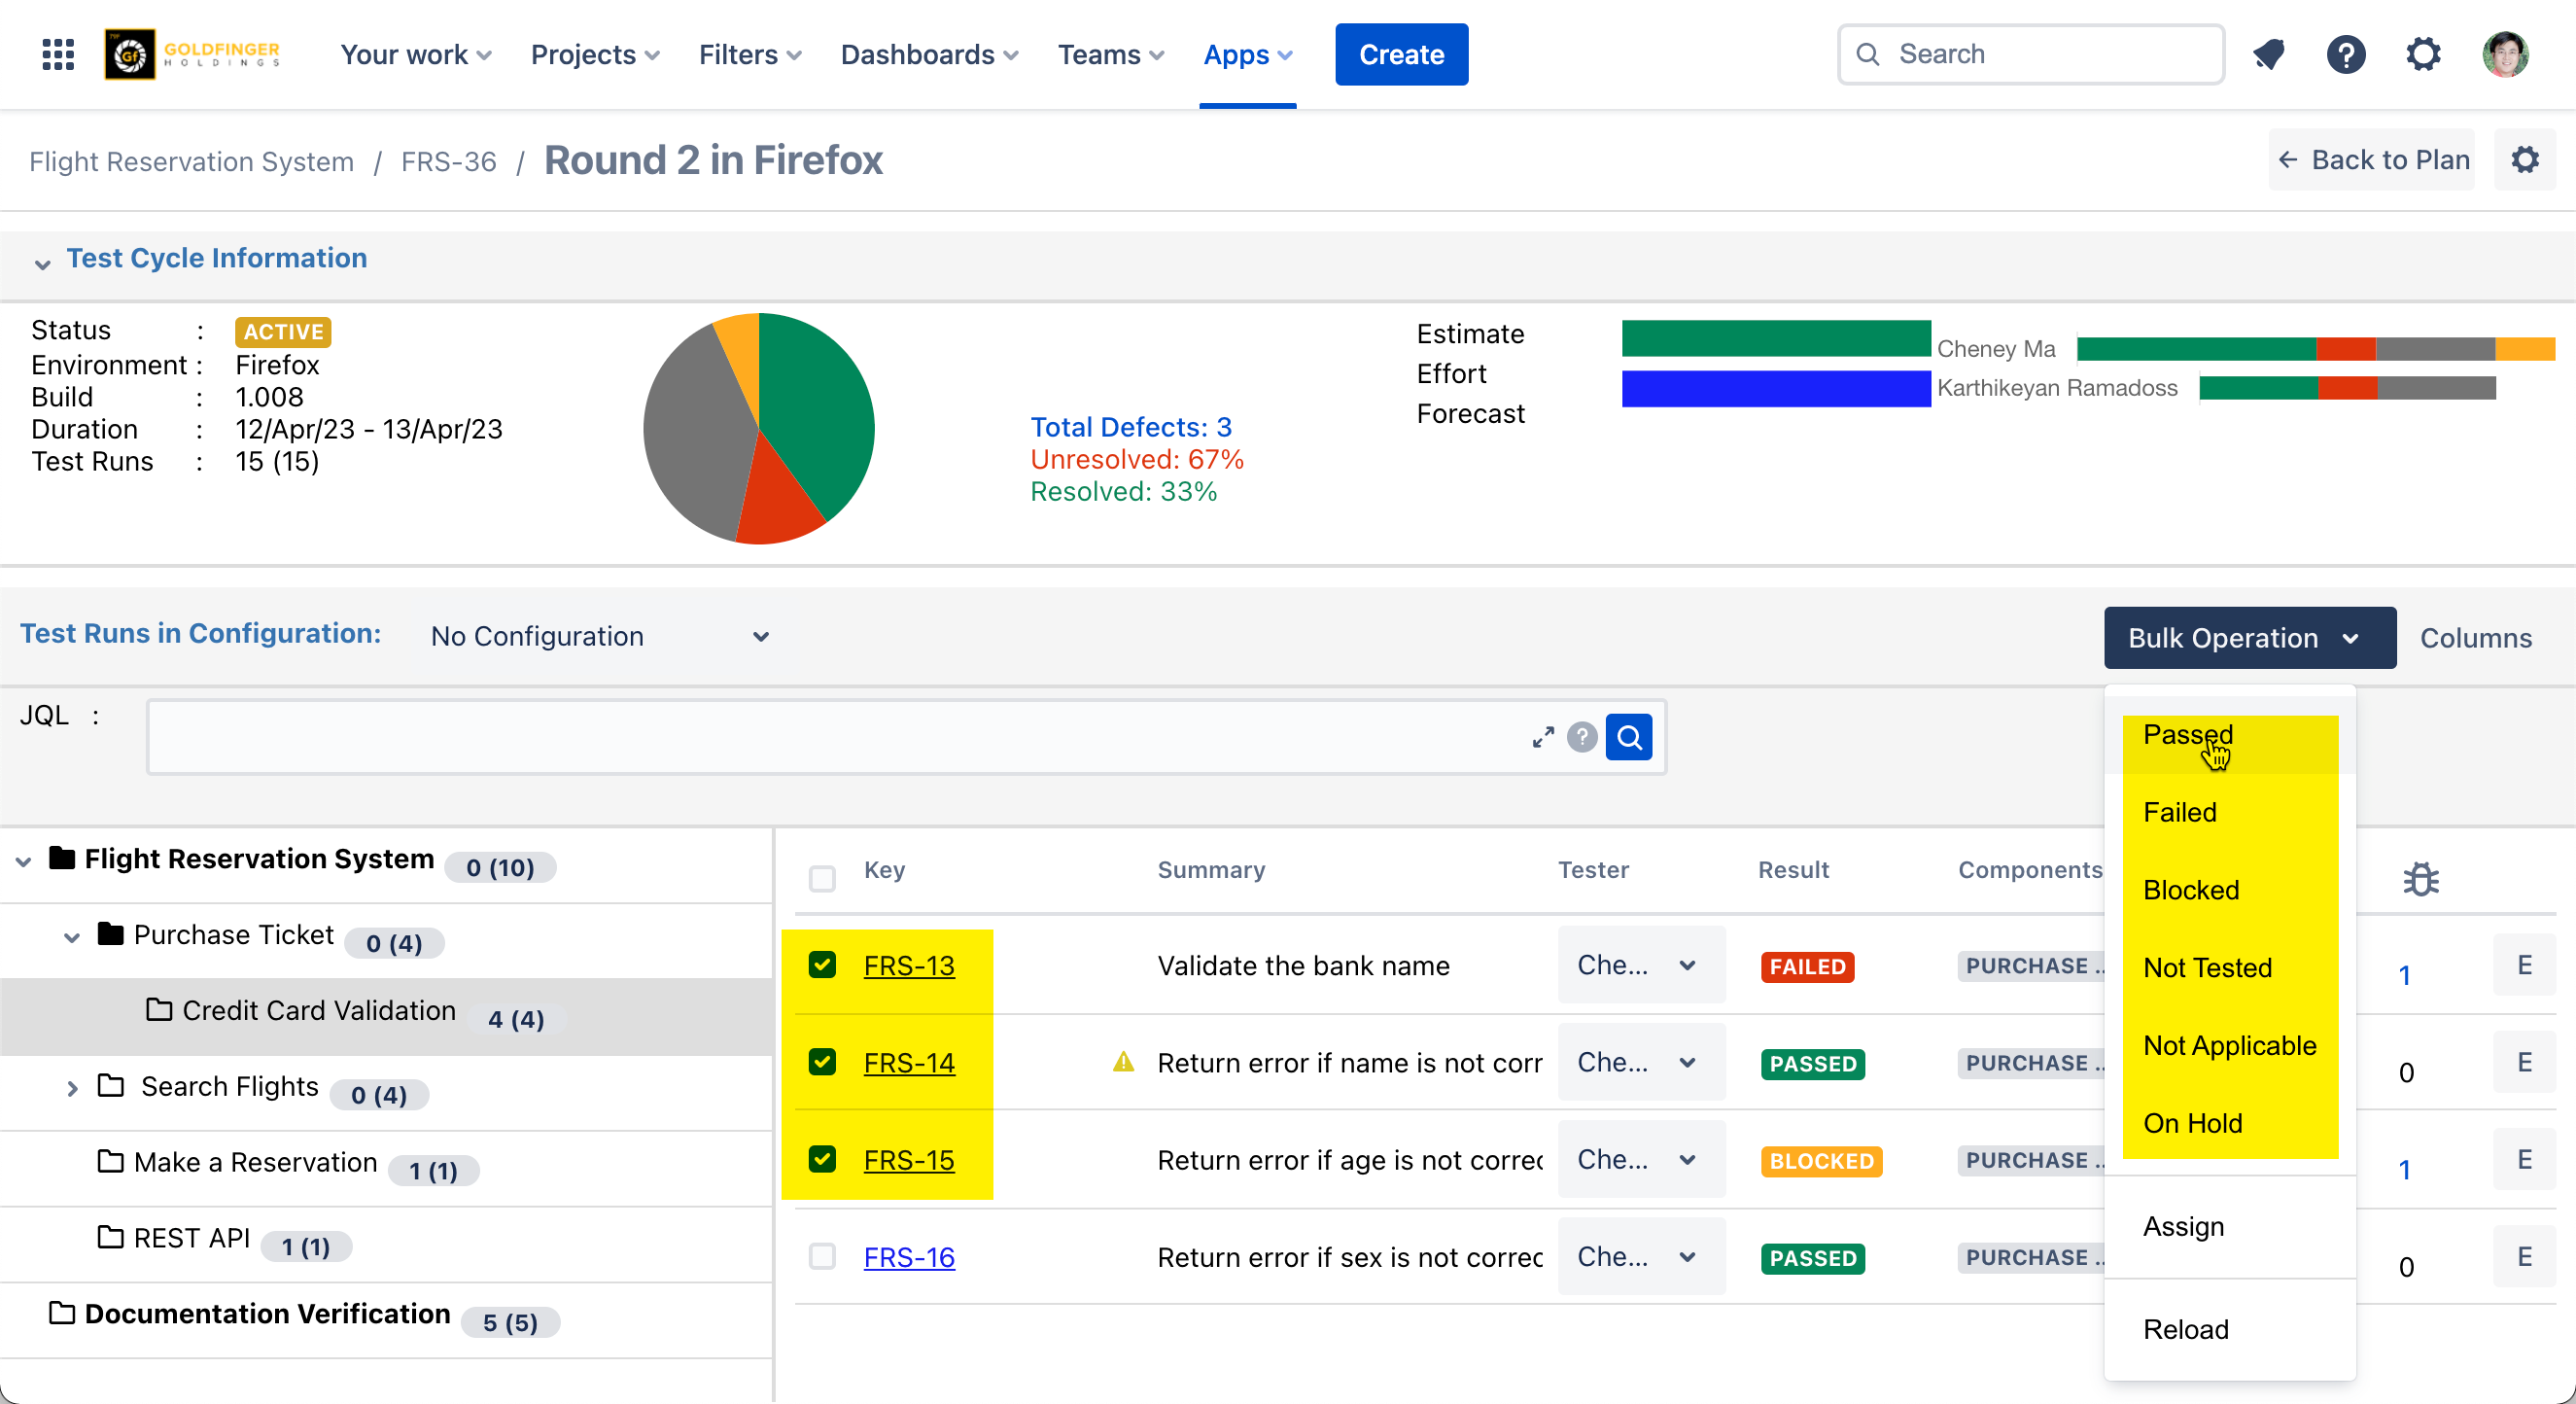
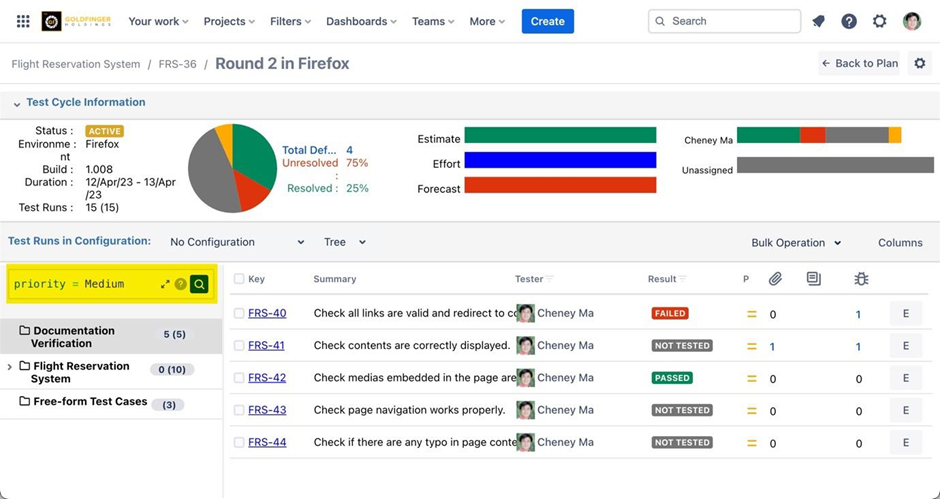
Filtering Test Runs
Filtering from JQL Query
Launch a test cycle.
From left navigation panel, specify valid JQL query to filter test runs.
Filtering from Table Header
Launch a test cycle.
From table header, click on Filter icon, it will list candidates from where you can select to filter test runs.
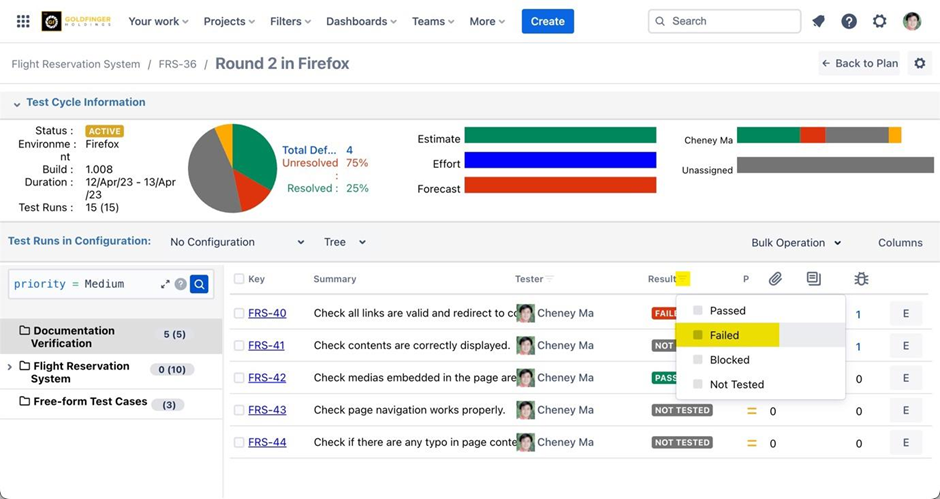
Note: Filtering can only be done with below fields, custom fields are not supported.
Tester
Result
Other Jira system fields (Components, Labels, Assignee …)
Update Test Run/s from Test Cycle
Update a Single Test Run
Bulk Update Multiple Test Runs